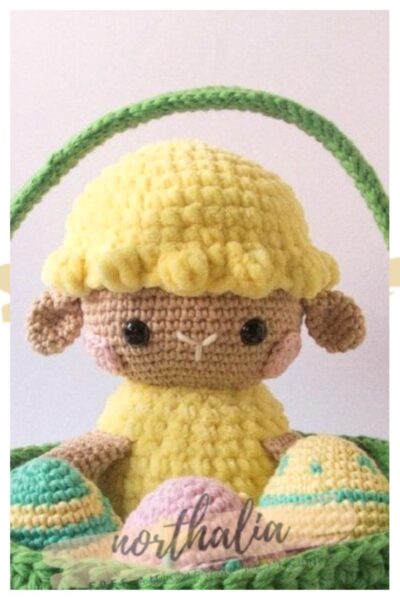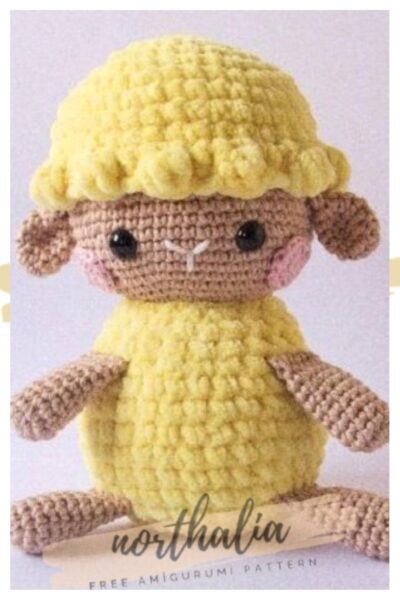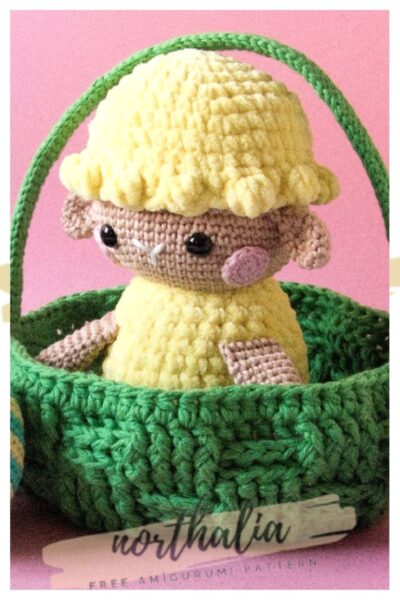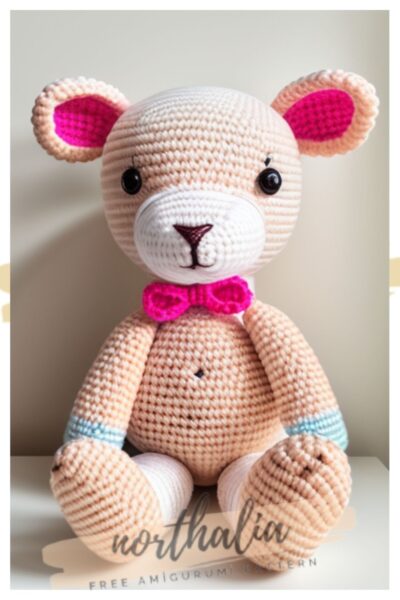
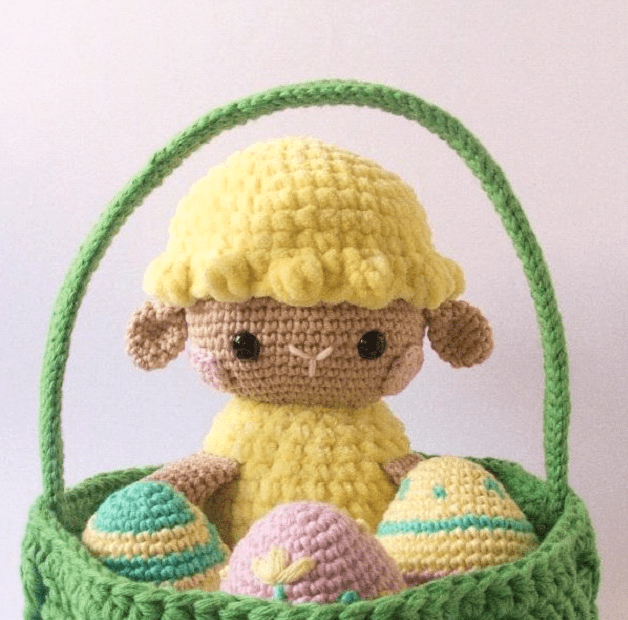
Hello dear amigurumi followers, we add a new one to the free amigurumi pattern. You can always follow us to reach the newest, most popular, most accurate pattern. Here is Crochet Lily the Easter Lamb;

Crochet hook: 3 mm (US size C/2) and 6 mm (US size J/10)
Height: Approx. 22 cm (8.5 inches)
Materials: A piece of white yarn for mouth, 2 safety eyes of 12 mm, stuffing, metal wire
Note: We don’t recommend to use metal wire if the product is for babies/children
Yarn: Rainbow Cotton 8/8
Dusty Green (#023) – 3 skeins
Beige (#004) – 1 skein
Candyfloss (#093) – 1 skein
Mint (#024) – 1 skein
Pastel Yellow (#053) – 1 skein
Yarn: Baby Snuggle Solid
Baby Duck (#07) – 1 skein
Abbreviations:
ch = chain
sc = single crochet
sl st = slip stitch
mr = magic ring
hdc = half double crochet
dc = double crochet
fdpc/bdpc = front/back post double crochet
flo/blo = front/back loop only
3-hdc puff st = 3 half double crochet puff stitch
inc = increase
dec = decrease
rnd(s) = round(s)
(xx) = number of stitches after ended round
Info and tips:
Always stuff each piece firmly, unless stated otherwise.
Work tightly to avoid holes between the stitches.
Everything is crocheted in a spiral except for some parts of the basket.
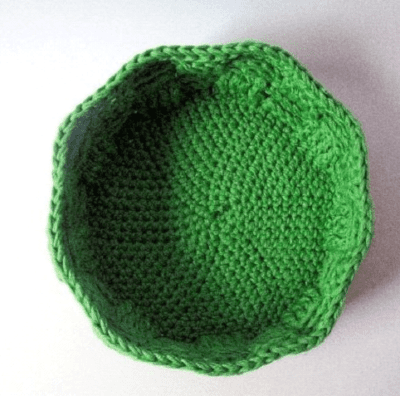
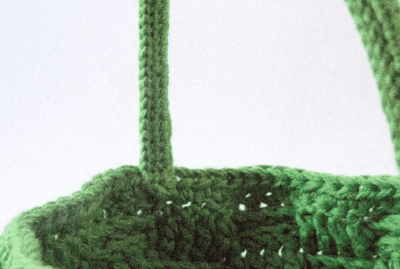
Basket
(holding two strands in Rainbow Cotton Dusty Green and with 6 mm hook)
Rnd 1: 6 sc in mr (6)
Rnd 2: inc in each st (12)
Rnd 3: (1 sc, inc) 6 times (18)
Rnd 4: (2 sc, inc) 6 times (24)
Rnd 5: (3 sc, inc) 6 times (30)
Rnd 6: (4 sc, inc) 6 times (36)
Rnd 7: (5 sc, inc) 6 times (42)
Rnd 8: (6 sc, inc) 6 times (48)
Rnd 9: (7 sc, inc) 6 times (54)
Rnd 10: (8 sc, inc) 6 times (60)
Rnd 11: (9 sc, inc) 6 times (66)
Rnd 12: (10 sc, inc) 6 times (72)
You will now continue your work with closed rounds. Each round starts with ch 2 and finishes
with a sl st, which does not count as a st in the final count.
Rnd 13: ch 2, in blo 72 dc, sl st in beginning ch (72)
Rnds 14-15: ch 2, (4 fpdc, 4 bpdc) 9 times, sl st in the beginning ch (72)
Rnds 16-17: ch 2, (4 bpdc, 4fpdc) 9 times, sl st in the beginning ch (72)
Rnd 18: ch 2, 1 hdc in each st, sl st in the beginning ch (72)
Finish off and weave in yarn ends.

Basket handle
(in Rainbow Cotton Dusty Green and with 3 mm hook)
Leave a long tail at the beginning. Ch 86.
Row 1: start in the 3rd ch from the hook, 1 hdc in each st, ch 2, turn (84)
Row 2: 1 hdc in each st, ch 1, turn (84)
Row 3: 1 sc in each st (84)
Fold the piece in half on the short side, and work the next row through both layers to close.
Cut a piece of wire with more than twice the length of the handle, fold it in half and place it
inside as you close.
Row 4: ch 1 and turn, 1 sl st in each st (84)
Finish off and leave a long tail for sewing.
Cut the excess wire.
Sew each edge of the handle on the inside of the basket, about 1 cm below the last round
and on opposite sides.


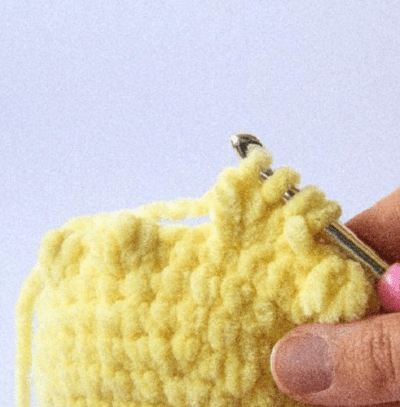
Cap
(in Baby Snuggle Solid Baby Duck and with 6 mm hook)
Rnd 1: 6 sc in mr (6)
Rnd 2: inc in each st (12)
Rnd 3: (1 sc, inc) 6 times (18)
Rnd 4: (2 sc, inc) 6 times (24)
Rnd 5: (3 sc, inc) 6 times (30)
Rnd 6: (4 sc, inc) 6 times (36)
Rnd 7: (11 sc, inc) 3 times (39)
Rnds 8-9: 1 sc in each st (39)
Rnd 10: in flo, 1 sc in each st (39)
Rnd 11: (1 sl st, 3-hdc puff st, 1 sl st) 13 times (39)
Finish off and weave in yarn end.


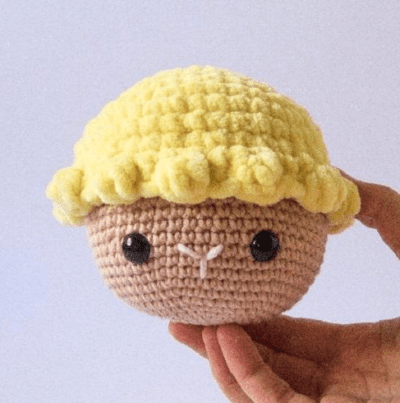
Head
(in Rainbow Cotton Beige and with 3 mm hook)
Rnd 1: 6 sc in mr (6)
Rnd 2: inc in each st (12)
Rnd 3: (1 sc, inc) 6 times (18)
Rnd 4: (2 sc, inc) 6 times (24)
Rnd 5: (3 sc, inc) 6 times (30)
Rnd 6: (4 sc, inc) 6 times (36)
Rnd 7: (5 sc, inc) 6 times (42)
Rnd 8: (6 sc, inc) 6 times (48)
Rnd 9: (7 sc, inc) 6 times (54)
Rnds 10-18: 1 sc in each st (54)
Finish off and leave a long tail for sewing.
Place safety eyes between rnds 12 and 13, and 8 sts apart.
With a piece of white yarn, embroider the nose between the eyes in a “Y” shape.
Stuff the head firmly.
Sew the head to the cap, to the unworked loops of rnd 10. Stuff the cap as you sew.

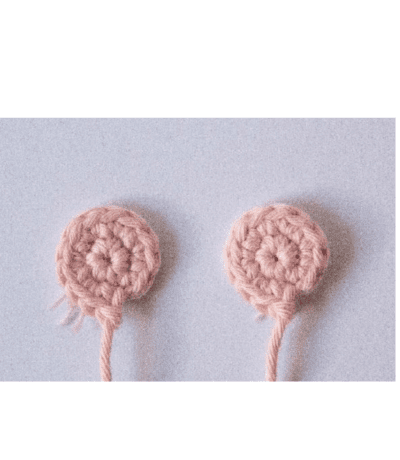
Cheeks
(make 2 in Rainbow Cotton Candyfloss and with 3 mm hook)
Rnd 1: 6 sc in mr (6)
Rnd 2: inc in each st (12)
Finish off and leave a long tail for sewing.
Sew the cheeks next to the eyes, between rnds 8 and 12.
Ears
(make 2 in Rainbow Cotton Beige and with 3 mm hook)
Rnd 1: 6 sc in mr (6)
Rnd 2: (1 sc, inc) 3 times (9)
Rnd 3: (2 sc, inc) 3 times (12)
Rnds 4-6: 1 sc in each st (12)
Rnd 7: (2 sc, dec) 3 times (9)
Do not stuff the ear. Flatten the opening and work next rnd through both layers to close.
Rnd 8: 4 sc (4)
Finish off and leave a long tail for sewing.
Flatten the ear perpendicular to the last round to shape it.
Sew the ears on each side of the head, between rnds 16 and 17.


Body
(in Baby Snuggle Solid Baby Duck and with 6 mm hook)
Rnd 1: 6 sc in mr (6)
Rnd 2: inc in each st (12)
Rnd 3: (1 sc, inc) 6 times (18)
Rnd 4: (2 sc, inc) 6 times (24)
Rnd 5: (3 sc, inc) 6 times (30)
Rnd 6: (9 sc, inc) 3 times (33)
Rnds 7-10: 1 sc in each st (33)
Rnd 11: (9 sc, dec) 3 times (30)
Rnd 12: 1 sc in each st (30)
Rnd 13: (3 sc, dec) 6 times (24)
Rnd 14: 1 sc in each st (24)
Rnd 15: (2 sc, dec) 6 times (18)
Finish off and leave a long tail for sewing.
Sew the body onto the bottom of the head.


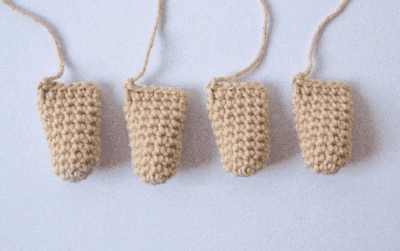
Legs
(make 4 in Rainbow Cotton Beige and with 3 mm hook)
Rnd 1: 6 sc in MR (6)
Rnd 2: inc in each st (12)
Rnds 3-10: 1 sc in each st (12)
Stuff the legs lightly. Flatten the opening and work next rnd through both layers to close.
Rnd 11: 6 sc (6)
Finish off and leave a long tail for sewing.
Sew the legs onto the body. Place two of them between rnds 6 and 7 and about 7 sts apart,
and two between rnds 13 and 14, aligned with the bottom legs.

Easter Egg
(in Rainbow Cotton Candyfloss, Mint or Pastel Yellow and with 3 mm hook)
Rnd 1: 6 sc in mr (6)
Rnd 2: inc in each st (12)
Rnd 3: (1 sc, inc) 6 times (18)
Rnd 4: (5 sc, inc) 3 times (21)
Rnd 5: (3 sc, inc, 3 sc) 3 times (24)
Rnd 6: (7 sc, inc) 3 times (27)
Rnd 7: (4 sc, inc, 4 sc) 3 times (30)
Rnd 8: (9 sc, inc) 3 times (33)
Rnd 9: (5 sc, inc, 5 sc) 3 times (36)
Rnd 10: (11 sc, inc) 3 times (39)
Rnd 11-16: 1 sc in each st (39)
Rnd 17: (11 sc, dec) 3 times (36)
Rnd 18: (4 sc, dec) 6 times (30)
Start stuffing and continue as you go.
Rnd 19: (3 sc, dec) 6 times (24)
Rnd 20: (2 sc, dec) 6 times (18)
Rnd 21: (1 sc, dec) 6 times (12)
Rnd 22: dec 6 times (6)
Finish off and sew the hole closed.
Personalize your Easter eggs with embroidery details or by doing some color changes.

Finish Crochet Lily the Easter Lamb.

More Amigurumi Ideas;