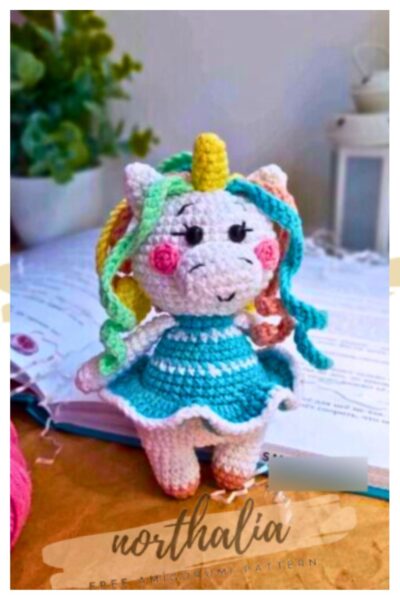
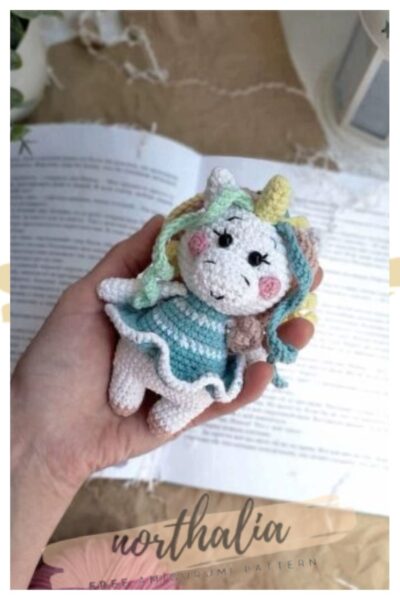
Hello dear amigurumi followers, we add a new one to the free amigurumi pattern. You can always follow us to reach the newest, most popular, most accurate pattern. Here is Amigurumi Magic Unicorn;
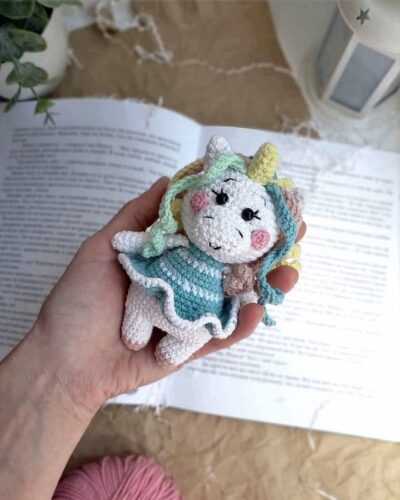
Designed and photos by Lyudmila Kuropatova
Instagram: @smila_toys
Materials:
- Yarn: Alize Cotton Gold or YarnArt Jeans
- Hook size: 1.5 mm
- 5 mm half beads for eyes
- Fabric glue
- Black embroidery floss
- Sewing needle and scissors
- Fiberfill
Abbreviations:
R = row
mc = magic circle
ch = chain
sl st = slip stitch
sc = single crochet
hdc = half double crochet
inc = 2 sc in the next stitch
dec = single crochet 2 stitches together
BLO = back loop only
FLO = front loop only
F.o. = finish off
(12) = number of stitches you should have at the end of the round/row
(…)*6 = repeat whatever is between the brackets the number of times stated
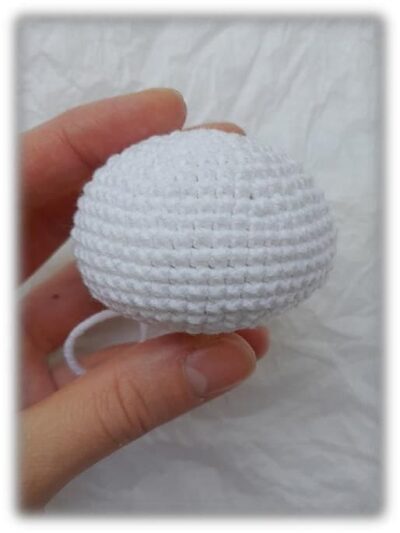
Head
Whis white yarn:
Stuff as you go.
R 1: 6 sc in mc (6)
R 2: (inc)*6 (12)
R 3: (1 sc, inc)*6 (18)
R 4: 1 sc, inc, (2 sc, inc)*5, 1 sc (24)
R 5: (3 sc, inc)*6 (30)
R 6: 2 sc, inc, (4 sc, inc)*5, 2 sc (36)
R 7: (5 sc, inc)*6 (42)
R 8: 3 sc, inc, (6 sc, inc)*5, 3 sc (48)
R 9-14: 48 sc (6 rows)
R 15: 3 sc, dec, (6 sc, dec)*5, 3 sc (42)
R 16: (5 sc, dec)*6 (36)
R 17: 2 sc, dec, (4 sc, dec)*5, 2 sc (30)
R 18: (3 sc, dec)*6 (24)
R 19: (2 sc, dec)*6 (18)
R 20: (1 sc, dec)*6 (12)
R 21: (dec)*6 (6)
F.o.
Cheeks (make 2)
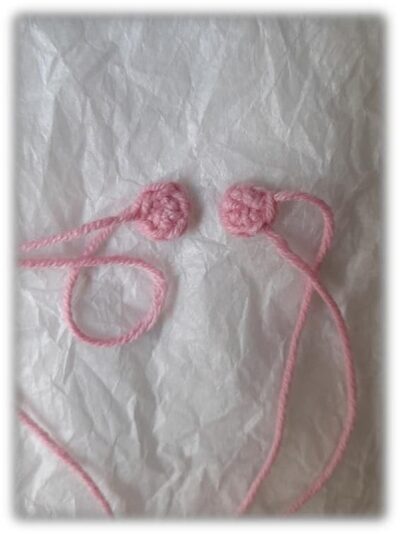
With pink yarn:
R 1: 6 sc in mc (6)
F.o. and leave a long tail for sewing.
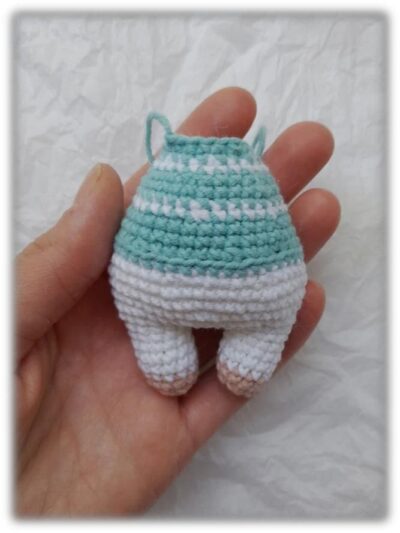
Legs and body
Legs (make 2)
With pink yarn:
R 1: 6 sc in mc (6)
R 2: (inc)*6 (12)
R 3: 12 sc
Change to white yarn:
R 4-7: 12 sc (4 rows)
F.o.
Don’t cut the yarn when you’ll finish the second leg!
From the second leg: 3 ch, join with the first leg with sl st.
Continue crocheting the body in the round:
Stuff as you go.
R 8: 12 sc on the 1st leg, 3 sc in 3 ch, 12 sc on the 2nd leg, 3 sc in 3 ch (opposite side) (30)
R 9: 2 sc, inc, (4 sc, inc)*5, 2 sc (36)
R 10: (5 sc, inc)*6 (42)
R 11: 3 sc, inc, (6 sc, inc)*5, 3 sc (48)
R 12-13: 48 sc (2 rows) + 12 sc to move the beginning of the next row (put a stitch marker).
R 14: 3 sc, dec, (6 sc, dec)*5, 3 sc (42)
Change to blue yarn:
R 15: 42 sc
R 16: BLO (5 sc, dec)*6 (36)
R 17-18: 36 sc (2 rows)
Change to white yarn:
R 19: 2 sc, dec, (4 sc, dec)*5, 2 sc (30)
Change to blue yarn:
R 20-21: 30 sc (2 rows)
R 22: (3 sc, dec)*6 (24)
Change to white yarn:
R 23: 24 sc
Change to blue yarn:
R 24: (2 sc, dec)*6 (18)
R 25: 18 sc
F.o. and leave a long tail for sewing.
Skirt
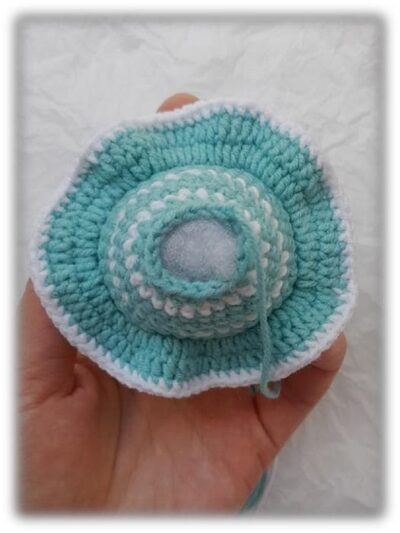
Attach blue yarn on R 15 of the body and crochet in turning rows:
R 1: FLO 2 ch, (2 hdc in one st)*42, sl st (84)
R 2: 2 ch, 84 hdc, sl st
Change to white yarn:
R 3: 1 ch, 84 sc, sl st
F.o.
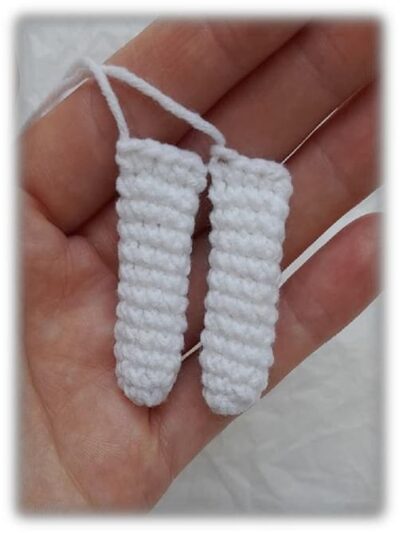
Arms (make 2)
With white yarn:
R 1: 6 sc in mc (6)
R 2: (1 sc, inc)*3 (9)
R 3-12: 9 sc (10 rows)
Don’t stuff with fiberfill.
Fold top of arm flat and 4 sc through both sides across.
F.o. and leave a long tail for sewing.
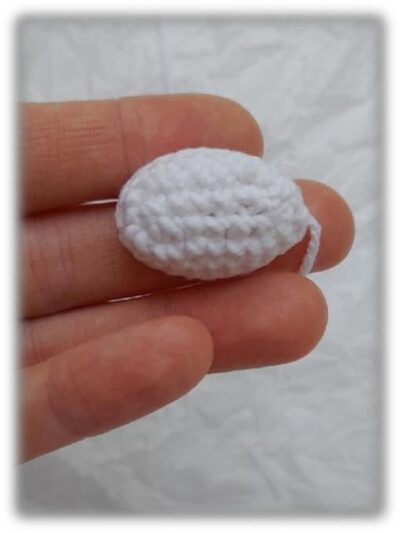
Muzzle
With white yarn:
Make 6 ch.
Make an oval starting from the 2nd ch from hook, work on both sides of the chain.
R 1: From the 2nd ch from hook: inc, 3 sc, 4 sc in last st, turn and crochet on the opposite side of the chain: 3 sc, inc (14)
R 2: 2 inc, 3 sc, 4 inc, 3 sc, 2 inc (22)
R 3-4: 22 sc (2 rows)
F.o. and leave a long tail for sewing.
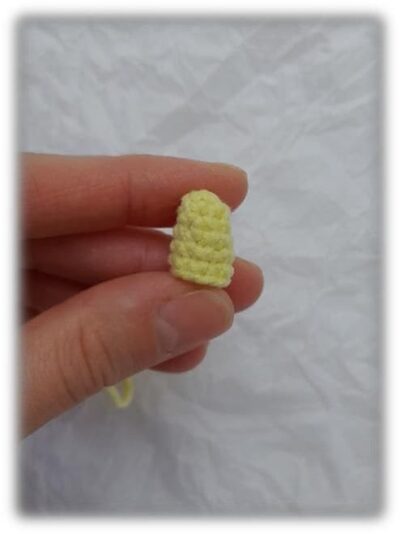
Horn
With yellow yarn:
R 1: 6 sc in mc (6)
R 2: 6 sc
R 3: (1 sc, inc)*3 (9)
R 4: 9 sc
R 5: (2 sc, inc)*3 (12)
Stuff gently.
F.o. and leave a long tail for sewing.
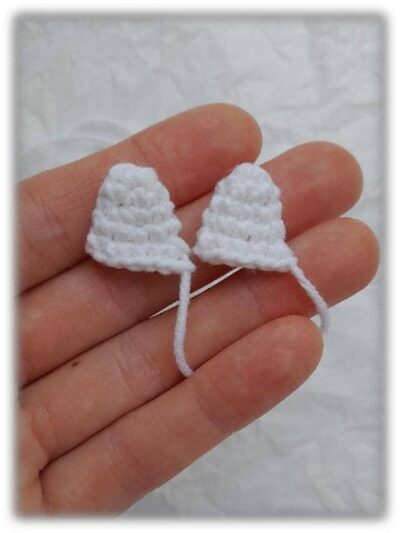
Ears (make 2)
With white yarn:
R 1: 6 sc in mc (6)
R 2: 6 sc
R 3: (1 sc, inc)*3 (9)
R 4: 9 sc
R 5: (2 sc, inc)*3 (12)
Don’t stuff with fiberfill.
F.o. and leave a long tail for sewing.
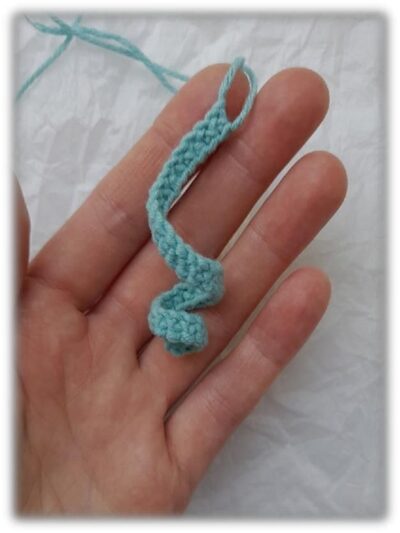
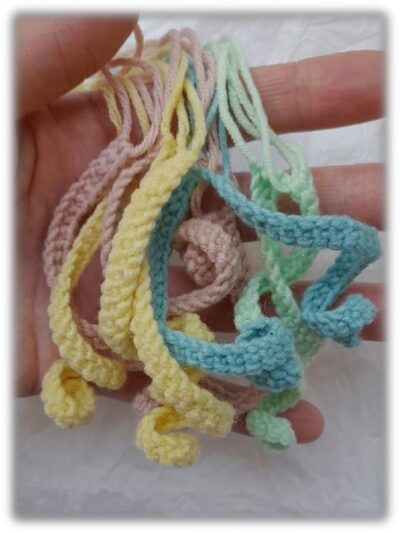
Mane (make 11)
Make 36 ch.
R 1: From the 2nd ch from hook: 35 sc
F.o. and leave a long tail for sewing.
Assembly
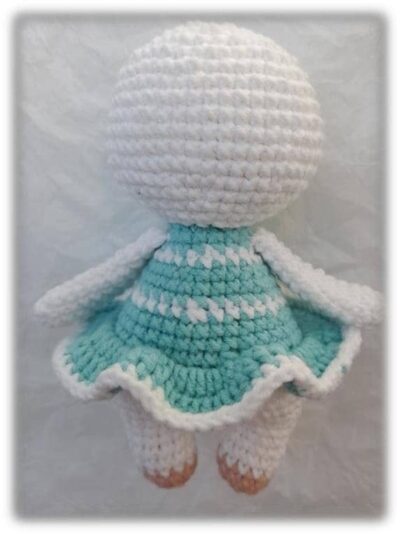
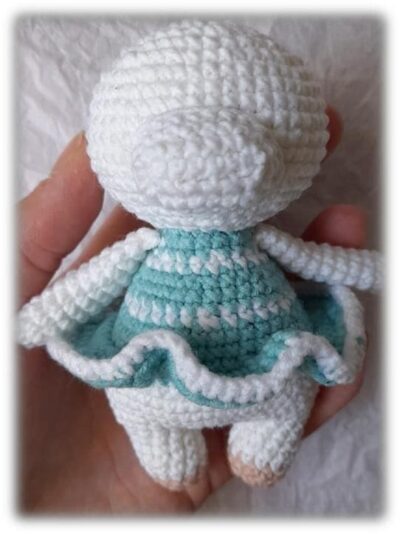
Sew the head to the body.
Sew the arms between R 24 and R 25 of the body.
Sew the muzzle between R 11 and R 15 of the head.
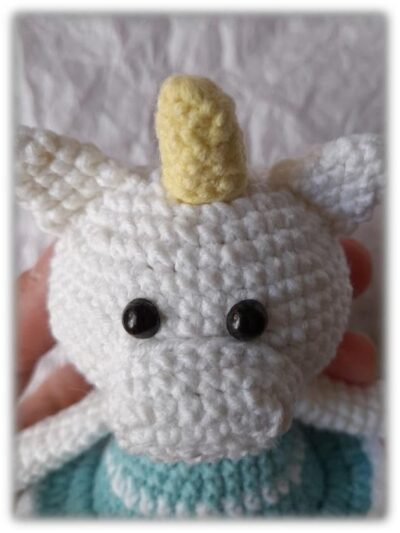
Glue the eyes above the muzzle at the distance of 3 st from each other.
Sew the horn in the middle of the head between the R 2 and R 5.
Sew the ears on the top of the head between R 4 and R 8.
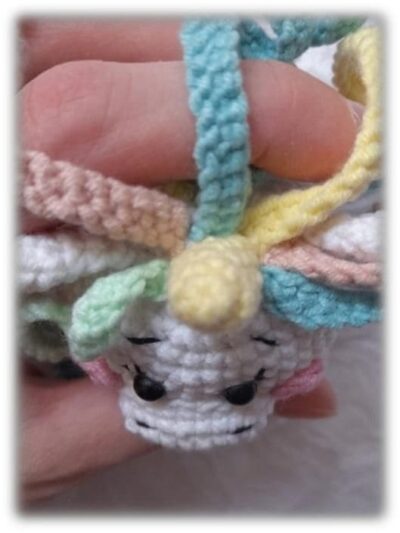
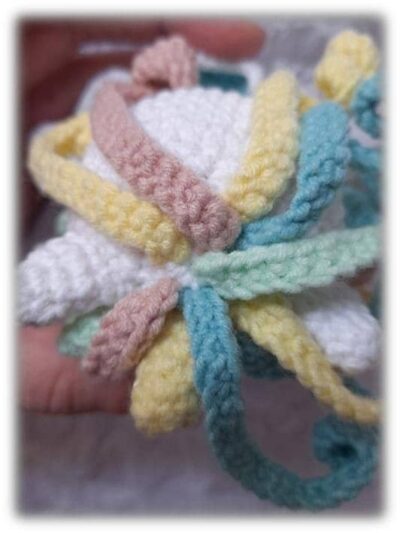
Sew the mane onto the head.
Embroider the nose and mouth on the muzzle.
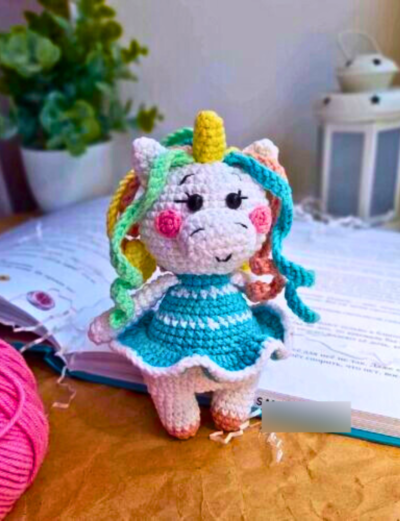
Embroider the eyebrows and lashes as shown in photo with a black floss.
Sew the cheeks onto the front of the head.
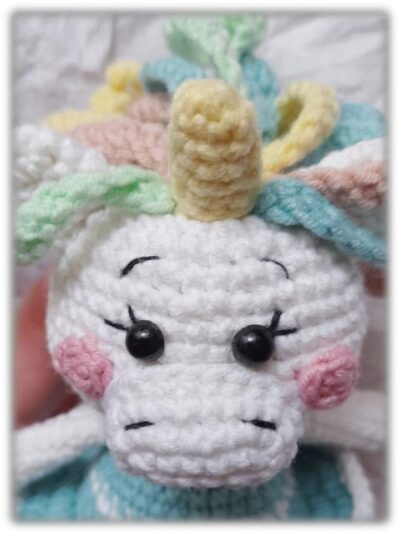
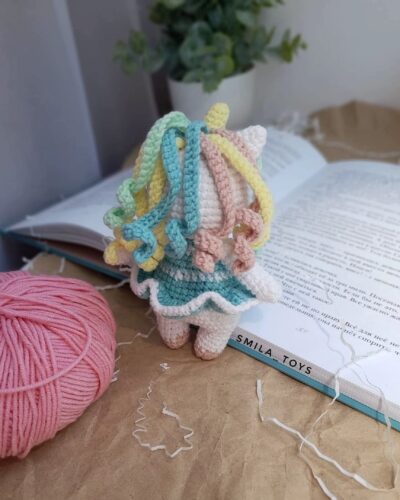
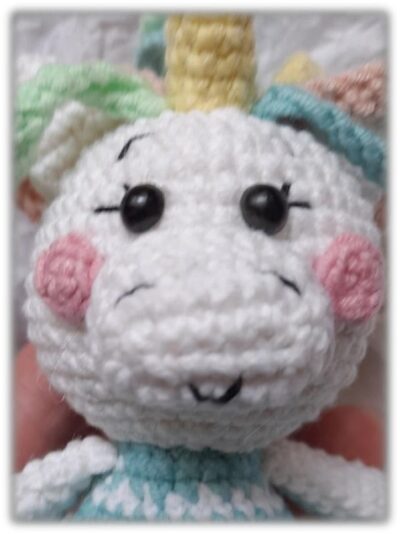
Finish Amigurumi Magic Unicorn.
More Amigurumi Ideas;
