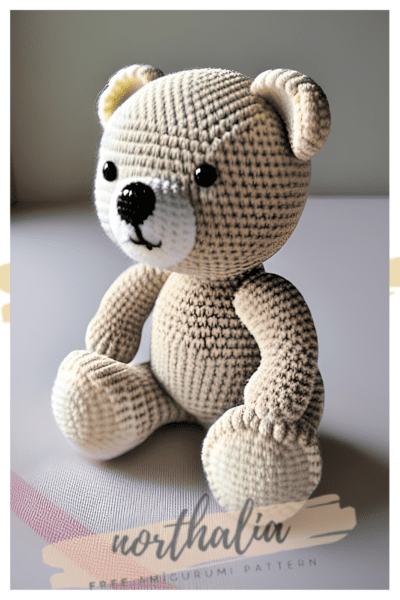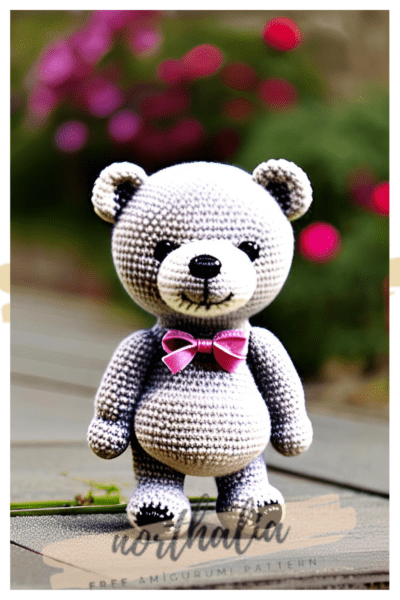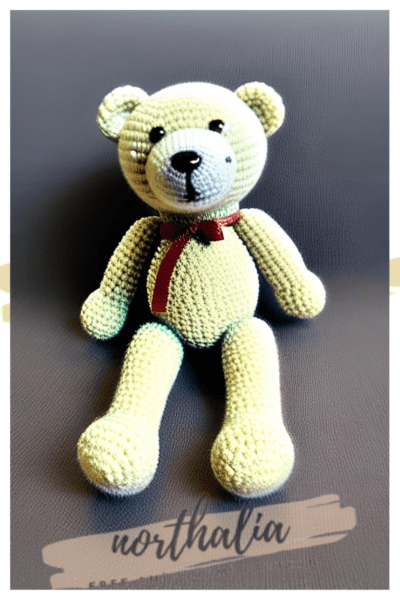
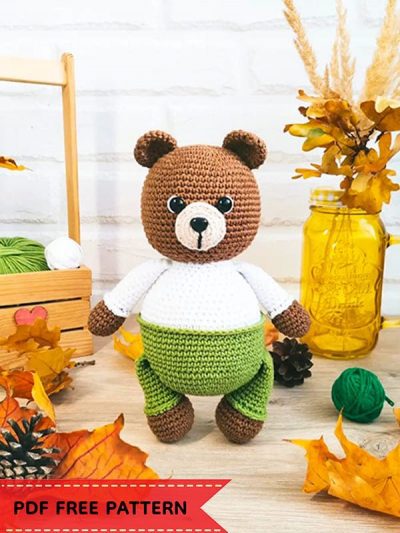
Hello dear amigurumi followers, we add a new one to the free amigurumi pattern. You can always follow us to reach the newest, most popular, most accurate pattern. Here is Amigurumi Bear Crochet Pattern;
Designer: nitka.boom
Materials
• Yarnart Jeans yarn
• Hook 2.0
• Safety eyes 10 mm
• Black threads for embroidery Muzzles
• Filler
Abbreviations
MR- Magic ring
Sc- Single crochet
Inc- Increase
Dec- Decrease
Sl st- Slip stitch
Rnd- Round
• The size of the finished crochet teddy bear is approximately 20 cm.
Ears (Make 2)
Rnd 1. 6 sc in MR
Rnd 2. 6-inc (12)
Rnd 3. (1sc, inc)*6 (18)
Rnd 4-6. 18 sc (3 rnds)
Rnd 7. (1sc, dec)*6 (12)
Fold the edges together and crochet 6sc for both edges. We fix the thread and cut it off (leave a small amount for sewing).
Muzzle
Rnd 1. 6 sc in MR
Rnd 2. 6-inc (12)
Rnd 3. (1 sc,inc)*6 (18)
Rnd 4. 18 sc, sl st.
Cut the thread and fasten off.
Legs (Make 2)
The legs will tie into the body.
Starting with the body color of the bear.
Rnd 1. 6 sc in MR
Rnd 2. 6-inc (12)
Rnd 3. (1sc,inc)*6 (18)
Rnd 4. (2sc,inc)*6 (24)
Rnd 5-8. 24 sc (4 rnds)
Rnd 9. (2sc,dec)*6 (18)
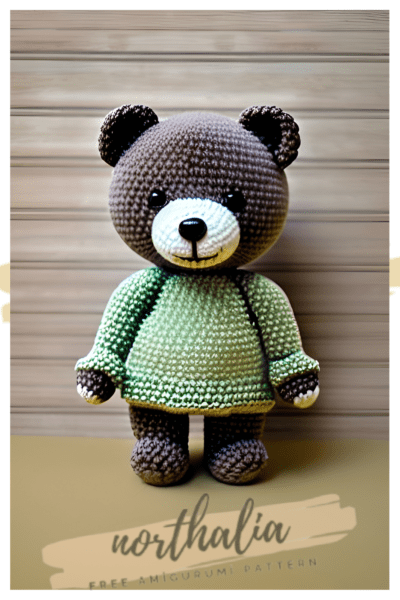
Rnd 10. Change the thread to the color of the pants and knit 18 sc behind the back wall of the loop.
Rnd 11. (4sc,dec)*3 (15)
Rnd 12-20. 15 sc (9 rnds)
Fill a little more than half.
Fold the edges together together and crochet 7sc for both edges.
We fasten the thread, cut it.
Bottom of pants: attach the thread of the desired color to the 10th row, crochet for the front wall of the loop 18sc.
Arms (Make 2)
Starting with the body color of the bear.
Rnd 1. 6 sc in MR
Rnd 2. 6-inc (12)
Rnd 3. (3sc,inc)*3 (15)
Rnd 4-6. 15 sc (3 rnds)
Rnd 7. (3sc,dec)*3 (12)
Rnd 8. Change the thread to the color of the sweater and crochet 12sc for the back wall of the loop.
Rnd 9-21. 12 sc (12 rnds)
Fill a little more than half.
Fold the edges together and knit 6sc for both edges.
We fasten the thread, cut it.
Bottom of the sweater: attach the thread of the desired color to the 8th row, crochet for the front wall of the loop 12sc.
Head
Rnd 1. 6 sc in MR
Rnd 2. 6-inc (12)
Rnd 3. (1sc,inc)*6 (18)
Rnd 4. (2sc,inc)*6 (24)
Rnd 5. (3sc,inc)*6 (30)
Rnd 6. (4sc,inc)*6 (36)
Rnd 7. (5sc,inc)*6 (42)
Rnd 8. (6sc,inc)*6 (48)
Rnd 9. (7sc,inc)*6 (54)
Rnd 10. (8sc,inc)*6 (60)
Rnd 11-21. 60 sc (11 rnds).
At the level of 16-17 we add eyes
The distance between the eyes and 4 loops.
Rnd 22. (8sc,dec)*6 (54)
Rnd 23. (7sc,dec)*6 (48)
Rnd 24. (6sc,dec)*6 (42)
Rnd 25. (5sc,dec)*6 (36)
Rnd 26. (4sc,dec)*6 (30)
Rnd 27. (3sc,dec)*6 (24)
Fasten the thread, cut and leave the tip for sewing.
Body
Let’s start with the color of the pants.
Rnd 1. 6 sc in MR (6)
Rnd 2. 6-inc (12)
Rnd 3. (1sc,inc)*6 18
Rnd 4. (2sc,inc)*6 24
Rnd 5. (3sc,inc)*6 30
Rnd 6. (4sc,inc)*6 3б
Rnd 7. (5sc,inc)*6 42
Rnd 8. (бsc,inc)*6 48
Rnd 9. (7sc,inc)*6 54
Rnd 10. (8sc,inc)*6 (60)
Rnd 11-19. 60 sc (9 rnds)
In the 13th row we crochet the legs.
We crochet 12sc, then 7sc together with the leg, then 24sc, then 7sc together with the leg and 10sc to the end of the row.
Rnd 20. Change the thread to the color of the sweater and crochet for the back wall of the 60 sc loop.
Rnd 21. (8sc,dec)*6 (54)
Rnd 22. 4 sc
Rnd 23. (7sc,dec)*6 (48)
Rnd 24. 48 sc
Rnd 25. (6sc,dec)*6 (42)
Rnd 26. 42 sc
Rnd 27. (5sc,dec)*6 (36)
Rnd 28. 36 sc
Rnd 29. (4sc,dec)*6 (30)
Rnd 30. We will crochet arms in this round.
We crochet 8sc, then 6sc together with the arms, after 10sc and 6sc together with the arms to the end of the row.
Rnd 31. (3sc,dec)*6 (24)
Rnd 32. 24 sc
Fasten the thread and cut.
More Amigurumi Ideas;