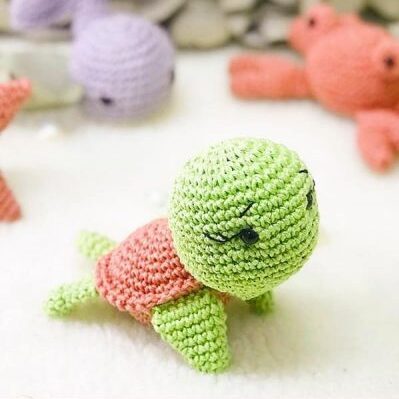
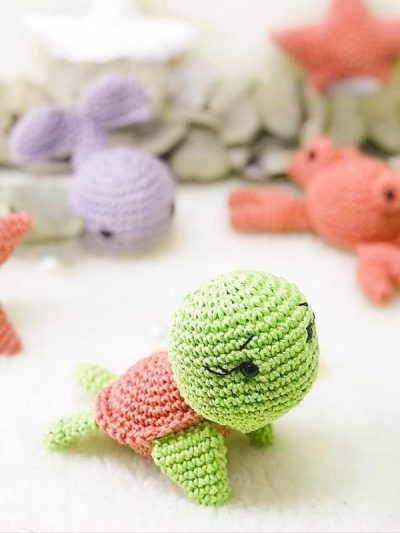
Hello dear amigurumi followers, we add a new one to the free amigurumi pattern. You can always follow us to reach the newest, most popular, most accurate pattern. Here is Amigurumi Crochet Turtle Meg Pattern;
Crochet Turtle Meg Amigurumi Free Pattern
Designer: @unique_amigurumis
Materials
• Amigurumi yarn, colors 4094 (centin) and 5741 (parakeet)
• Black embroidery thread
• 2.2 mm needle
• Little eyes with safety lock n. 7
• Acrylic fiber (filler)
• Thin upholstery needle
Abbreviations
MR– magic circle
Sc– single crochet
Flo– Front loop only
Inc– increase
Dec– decrease
Ch – chain
Difficulty level: Easy
Head
Start with the green line:
Rnd 1. 8 sc at the MR
Rnd 2. 8 inc – 16 sc
Rnd 3. 1 sc, 1 inc (x 8) – 24 sc
Rnd 4. 2 sc, 1 inc (x 8) – 32 sc
Rnd 5. 3 sc, 1 inc (x 8) – 40 sc
Rnd 6-9. 1 sc about each sc – 40 sc
Rnd 10. 5 sc, 1 dec, 5 sc, 1 dec, 10 sc, 1 inc, 10 sc, 1 inc, 4 sc – 40 sc
Rnd 11-13. 1 sc about each sc – 40 sc
Rnd 14. 3 sc, 1 dec (x 8) – 32 sc
Rnd 15. 32 sc
Rnd 16. 2 sc, 1 dec (x 8) – 24 sc.
Rnd 17. 1 sc, 1 dec (x 8) – 16 sc
Rnd 18. 2 sc, 1 dec (x 4) – 12 sc
Rnd 19-22. 1 sc about each sc – 12 sc
Rnd 23. Close with 6 sc, and leave long thread for sewing.
Fold rows 19 to 23 to the back of the head, and sew on the sides of the head with a thread of the same color to help support it. Row 23 will be sewn to the shell at an opportune time.
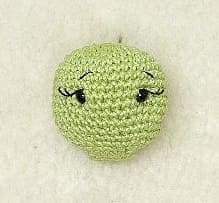
Place the safety eyes between rows 11 and 12, where you made the dec.
Put the filling from row 16 onwards, adding more as you weave. Do not fill the 12 sc rows.
Optional: make the expression on the little face, squinting the eyes, and embroider with black embroidery thread, the eyelashes and eyebrows.
Shell
Use satin color:
Top:
Rnd 1. 6 sc at the MR
Rnd 2. 6 inc- 12 sc
Rnd 3. 1 sc, 1 inc x 6- 18 sc
Rnd 4. 2 sc, 1 inc x 6- 24 sc
Rnd 5. 3 sc, 1 inc x 6- 30 sc
Rnd 6. 4 sc, 1 inc x 6- 36 sc
Rnd 7-8. 36 sc
Rnd 9. in FLO, crochet lace (1sc, 1ch) all the way around.
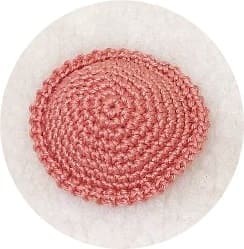
Cut the thread, finish and set aside
Lower part:
Rnd 1. 6 sc at the MR
Rnd 2. 6 inc- 12 sc
Rnd 3. 1 sc, 1 inc x 6- 18 sc
Rnd 4. 2 sc, 1 inc x 6- 24 sc
Rnd 5. 3 sc, 1 inc x 6- 30 sc
Rnd 6. 4 sc, 1 inc x 6- 36 sc
Rnd 7-8. 36 sc
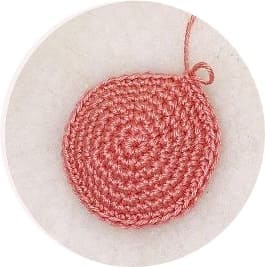
End and leave a long thread to sew.
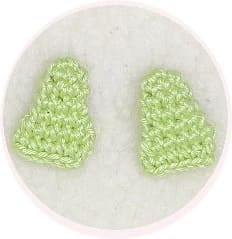
Little paws
Front paws (2x), in green:
Rnd 1. 6 sc at the MR
Rnd 2. 2 sc, 1 inc(x2)- 8 sc
Rnd 3. 8 sc
Rnd 4. 3 sc, 1 inc- 10 sc
Rnd 5. 4 sc, 1 inc- 12 sc
Rnd 6. 5 sc, 1 inc- 14 sc
Rnd 7. 14 sc
Rnd 8. close with 6 sc
End and leave a long thread for sewing.
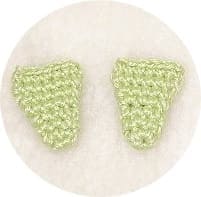
Back paws (2x), in green:
Rnd 1. 6 sc at the MR
Rnd 2. 2 sc, 1 inc (x2)- 8 sc
Rnd 3. 8 sc
Rnd 4. 3 sc, 1 inc- 10 sc
Rnd 5. 4 sc, 1 inc- 12 sc
Rnd 6. 12 sc
Rnd 7. close with 5 sc
End and leave a long thread for sewing.
Little Tail
Do in green:
Rnd 1. 4 sc at the MR
Rnd 2. 1 sc, 1 inc (x2)- 6 sc
Rnd 3-6. 6 sc
Rnd 7. close with 3 sc
Leave a long thread for sewing, finish and set aside.
Assembly
Position the turtle parts on the upper shell, with the head facing the tail, front paws one on each side of the head, the hind paws one on each side of the tail. Sew the parts in the loops left over from row 9 at the top of the hull. Position the bottom of the hull, and sew in the same place where the head and limbs were sewn. Gradually add filling, until the hull becomes “fat” and very firm. Fasten and hide the thread. With wire in the same color as the hull, make a few stitches, fastening the head to the hull, so that it stands upright. Take care not to appear on the sides of the turtle… There are only about 3 or 4 little dots, just so that the little head doesn’t get slack or fall forward.
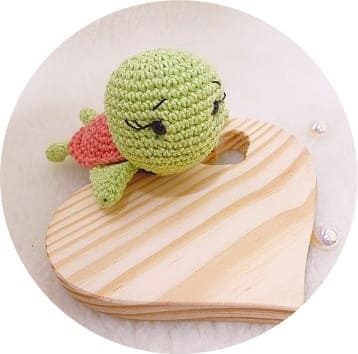
Finish Amigurumi Crochet Turtle Meg.
More Amigurumi Ideas;