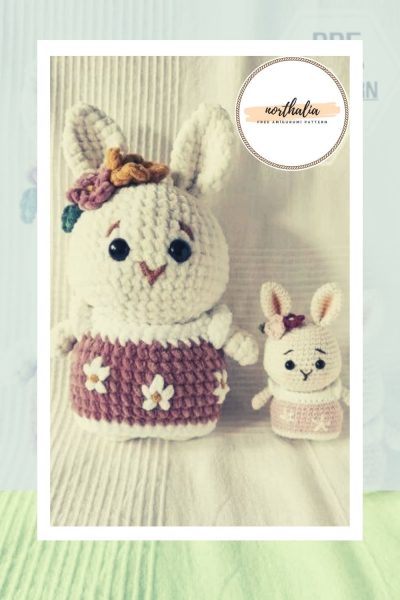
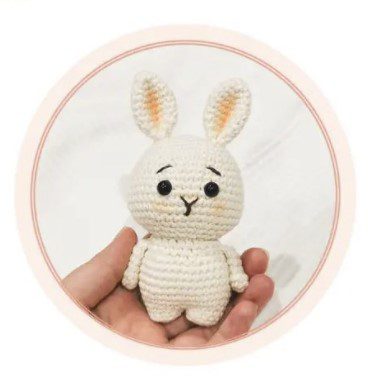
Hello dear amigurumi followers, we add a new one to the free amigurumi pattern. You can always follow us to reach the newest, most popular, most accurate pattern. Here is Amigurumi Bunny Pattern;
Free Amigurumi Bunny Pattern
Abbreviations
Mr – magic ring
Sc – single stitch
Inc – increase
Dec – decrease
Slst – slip siiich ch – chain
Hdc – half double crochet
Hdc-dec – half double crochet Decrease
Dc – double crochet
Flo – front loop only
Blo – back loop only
Set-dec – slip stitch decrease
Materials
• 2.2mm and 2mm hook
• 50g 8ply cotton dk yarn (colours – cream. Pink, white. Orange, mustard, yellow, purple, green)
• 6mm safety eyes
• fibrefill / toy stuffing
• embroidery thread – dmc
• stranded cotton thread (colour -dark brown, white and yellow)
• stitch markers, yarn and embroidery needles
Head (2.5mm hook. Cream Yarn)
ROUND 1. MR 6SC [6]
ROUND 2. 6INC [12]
ROUND 3. (1SC, INC) X 6 [18]
ROUND 4. (2SC, INC) X 6 [24]
ROUND 5. (3SC. INC) X 6 [30]
ROUND 6. (4SC, INC) X 6 [36]
ROUND 7- 8. 36SC [36]
ROUND 9. (5SC. INC) X 6 [42]
ROUND 10 – 12. 42SC [42]
ROUND 13. (6SC. INC) X 6 [48]
ROUND 14 -15. 48SC [48]
ROUND 16. (6SC. DEC) X 6 [42]
ROUND 17. (5SC, DEC) X 6 [36]
ROUND 18. (4SC. DEC) X 6 [30]
ROUND 19. (3SC. DEC) X 6 [24]
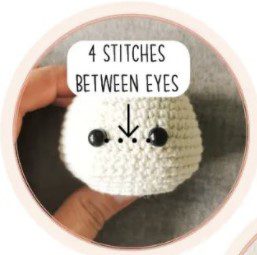
Start to insert eyes between round 12 and 13. Allow 4 stitches between the eyes.
Start to stuff the head.
Fasten and weave in loose ends.
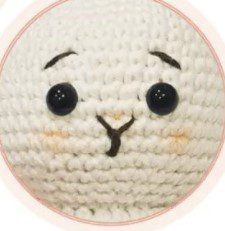
Using embroidery thread. Embroider the eyebrows and nose to the head.
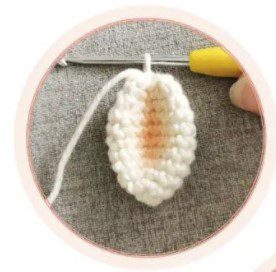
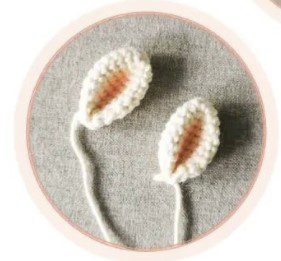
Ears (2.5mm hook. cream yarn)
ROUND 1. MR 6SC [6]
ROUND 2. (1SC, INC) X 3 [9]
ROUND 3. (2SC, INC) X 3 [12]
ROUND 4. (3SC, INC) X 3 [15]
ROUND 5 – 8. 15SC [15]
ROUND 9. (3SC, DEC) X 3 [12]
ROUND 10. (2SC, DEC) X 3 [9]
Fasten and leave a long tail for sewing.
Do not stuff the ear and fold the ear down. On one side of the ear apply a peach 1 pink colour makeup or shaved crayon.
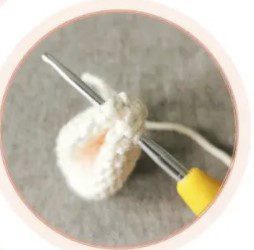
Pinch the opening of the ear 4 stitch 2slst through both loops to secure the shape of the ear as shown.
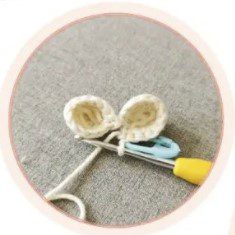
Legs x 2 (2.5mm hook, cream yarn)
ROUND 1. MR 6SC [61
ROUND 2. 6INC [12]
ROUND 3. BLO. 12SC. SLST [12]
Fasten and do the same for the second leg but do not fasten. Continue to make the body.
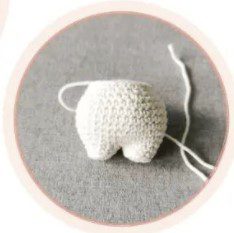
Body (2.5mm hook, cream yarn).
Continuing from the second leg.
ROUND 4. SC In the following 12 stitches of the second leg, join with the first leg. SC in the following 12 stitches of the first leg. [24]
ROUND 5. (3SC, INC) X 6 [30]
ROUND 6. 30SC [30]
ROUND 7. (4SC, INC) X 6 [36]
ROUND 8 – 11. 36SC [36]
ROUND 12. (4SC, DEC) X 6 [30]
ROUND 13. (3SC, DEC) X 6 [24]
ROUND 14. 24SC [24]
Fasten and leave a long tail for sewing.
Sew the hole between the legs and stuff the body.
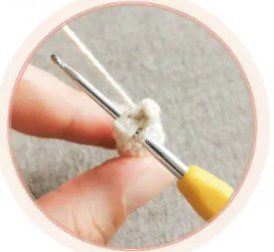
Arms x 2 (2.5mm hook, cream yarn)
ROUND 1. MR 6SC [6]
ROUND 2. (2SC, INC) X [8]
ROUND 3. 8SC [8]
ROUND 4. (2SC, DEC) X [6]
ROUND 5 – 6. 6SC [6]
Fasten and do no stuff the arms.
Fold the arm closed and stitch 3sc through both loops to close the arm. Leave a long tail for sewing to body.
Assemble
• sew ears between round 3 and 5 of the head.
• sew the body to the head
• sew the arms to the body. One round below the head
Dress (2.5mm hook. White and pink yarn. White and yellow embroidery thread)
Dress
Starting with white yarn, create a foundation chain.
Chain 36. Connect last chain to first chain, slst, chain 1. Working in rounds.
(note, the chain does not count as a stitch)
Round 1. 36sc. Slst, chain 1 [36]
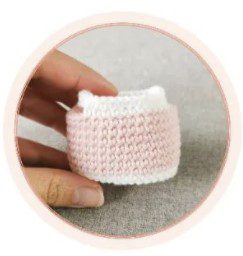
Change to pink yarn.
Round 2 – 8. 36sc. Slst, chain 1 [36]
Change to white yarn.
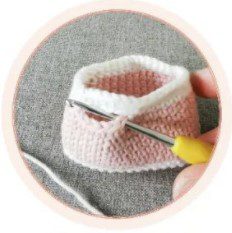
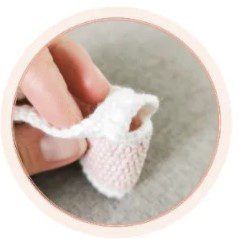
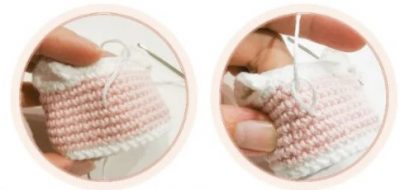
Round 9. 6sc. Chain 6 and skip 6 stitches on
Round 8. 12sc, chain 6 and skip 6 stitches on round 8. 6sc. Slst, chain 1 [36]
Round 10. 6sc. 6sc in chain, 12sc, 6sc in chain. 6sc. Slst [36]
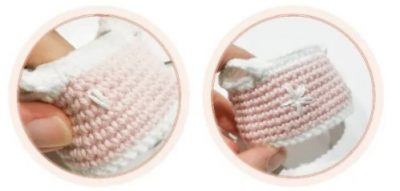
Fasten and weave in loose ends.
Create a foundation chain

Dress complete, time to make the sleeve ruffles
Continue making the dress
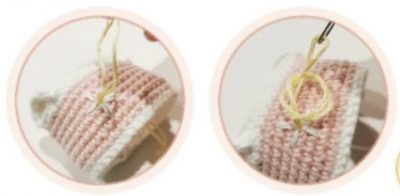
Ruffles on sleeves.
Starting at the first stitch of opening for arm. Secure white yarn.
(note. The chain does not count as a stitch)
Round 1. Chain 1, start crocheting in the same stitch as chain. 6sc, 6hdc-inc. Slst [12]
Fasten and weave in loose ends. Repeat for the second sleeve.
Instert hook to first stitch of arm opening.
Sleeve completed.
Time to embroider the flowers to the dress
Petals (white thread)
1. Start at the centre of the flower. Bring the thread through from the back.
2. Thread through the centre. This will make a loop
3. Thread through the back to how long you want the petal. Thread through the loop and thread back through to secure the petal
4. Repeat for next 4 petals and secure the thread.
Centre of flower (yellow thread).
5. Bring the thread through the back through the centre of the rower
6. Do a knot and ring the thread back through the centre and secure.
Flip the dress inside out and secure any loose threads.
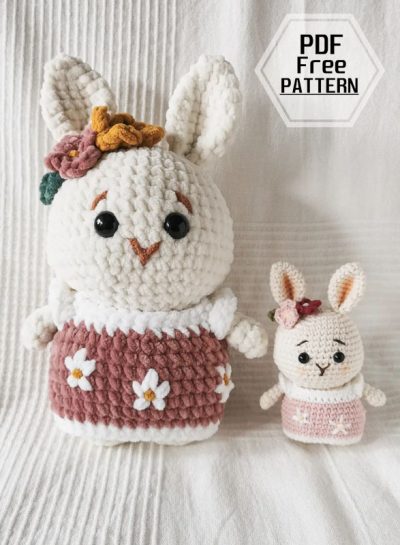
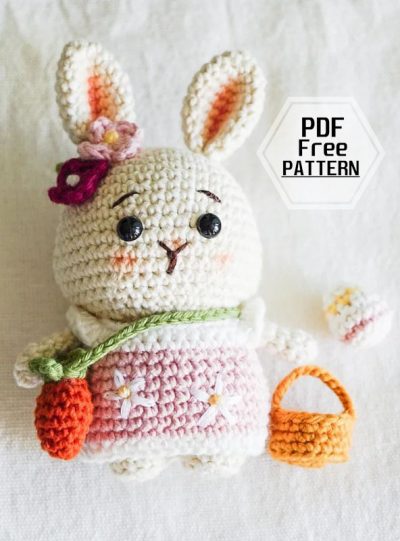
Place dress on autumn the easter bunny.
Finish our new Amigurumi Bunny.
More free amigurumi pattern;