Hello dear Amigurumi Followers
We add a new one to the free amigurumi patterns we have created for you. You can always get the most popular amigurumi patterns and the most preferred amigurumi crochet patterns on our site for free. Main crochets, amigurumi gazelles, amigurumi bears, amigurumi polar bears, amigurumi pandas, amigurumi penguins, amigurumi giraffes, amigurumi llama, amigurumi pigs, amigurumi rabbit, amigurumi clowns, amigurumi baby lambs, amigurumi lambs, amigurumi bees, amigurumi lambs dinosaurs, amigurumi elephants, amigurumi hippos, amigurumi monkeys, amigurumi cats, amigurumi dogs and more…
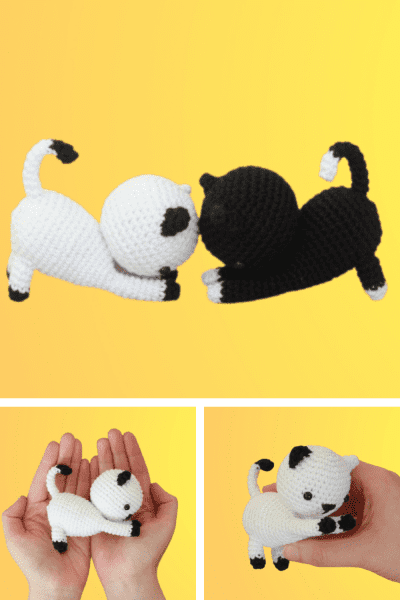
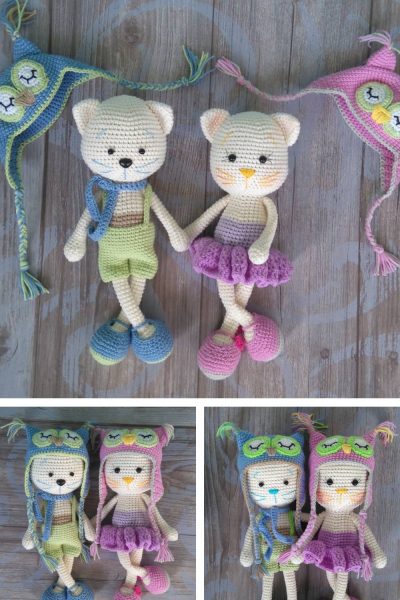
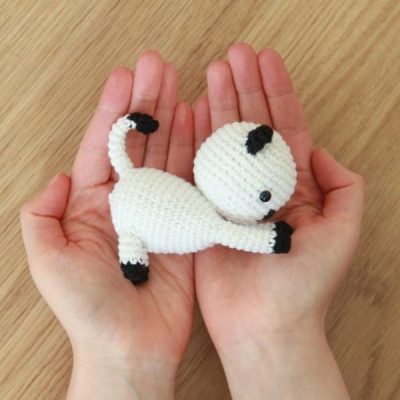
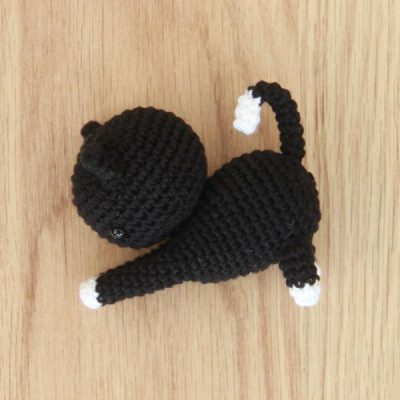
Our new free amigurumi crochet pattern Cat.
Here is our pattern;
You will need:
- One small skein of white yarn
- One small skein of black yarn
- Thread of black embroidery yarn
- Polyester stuffing
- One pair of safety eyes
- Your favourite crochet hook
- Your favourite sewing needle
For the cats in the pictures I personally used 4.5 mm eyes and a 2.25 mm hook. I also used Paintbox Yarns Cotton DK yarn in the following colours:
- White: 401 Paper White
- Black: 402 Pure Black
Abbreviations:
sc = stitch
inc = increase
dec = decrease
hdc = half double crochet stitch
dc = double crochet stitch
sl = slip stitch
blo = back loop only
flo = front loop only
fo = finish off
( … ) = repeat whatever is in between the brackets
[ .. ] = total amount of stitches in that round
Tips:
+ Stuff really firmly!
+ Stitch very tightly, so no holes show when stuffing. You can do this by using a smaller hook than your yarn label recommends, and by pulling your thread a little after every stitch.
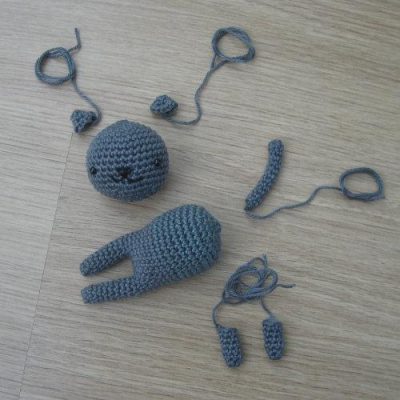
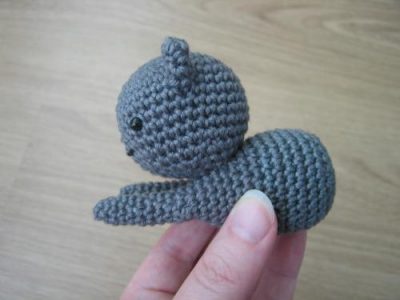
Head
1. 6 in a magic circle [6] This will be the top side of the head
2. ( inc ) x 6 [12]
3. ( sc, inc) x 6 [18]
4. ( 2 sc, inc) x 6 [24]
5. ( 3 sc, inc) x 6 [30]
6. ( 4 sc, inc) x 6 [36]
7-13. sc around [36]
14. ( 4 sc, dec) x 6 [30]
Place the safety eyes between row 10 and 11
15. ( 3 sc, dec) x 6 [24]
Embroider the snout now if you prefer to do it before stuffing
16. ( 2 sc, dec) x 6 [18]
Slowly start stuffing while crocheting along
17. ( sc, dec) x 6 [12]
18. ( dec ) x 6 [6]
Finish off and shut. Leave a long thread.
With some black thread, embroider the snout if you haven’t already.
Ear (x2)
1. 4 in a magic circle [4] This will be the top of the ear
2. ( sc, inc) x 2 [6]
3. ( inc ) x 6 [12]
Finish off. Don’t stuff or shut. Leave a long thread.
Fold the ears into flat shapes. Sew the ears on top of the head.

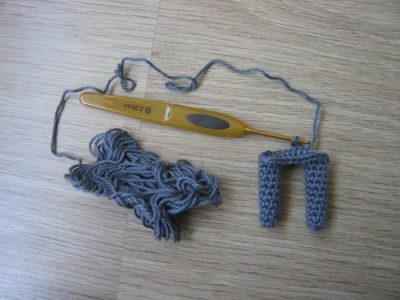
Front leg (x2)
1. 5 in a magic circle [5]
2. sc, inc, sc, inc, sc [7]
3-10. sc around
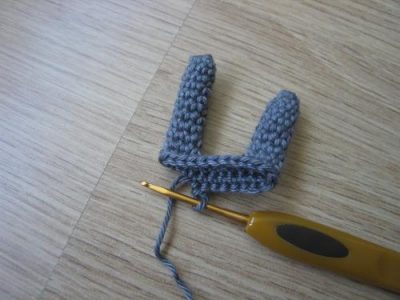
Finish off the first leg, but do not finish off the second leg!
When you’re finished with your second leg, don’t finish off. It’s time to merge the two legs into one piece that will be the beginning of the main body.
Continue from your second leg and chain 5 sc. Continue from your chain and join it to the first leg, and sc around all 7 sc from the first leg. Make 5 sc over one side the chain you’ve just made and sc around all 7 sc from the second leg. Continue crocheting onto the chain and make 5 sc on the other side than the one you’ve just crocheted on. You now have a round of in total [24 sc] and you can continue to work in rounds.
Body (continue from the two joined legs)
1-5. sc around [24]
Start stuffing the legs
6. ( 7 sc, inc ) x 3 [27]
7. sc around [27]
8. ( 8 sc, inc) x 3 [30]
9-14. sc around [30]
15. ( 3 sc, dec) x 6 [24]
16. ( 2 sc, dec) x 6 [18]
Start stuffing
17. ( sc, dec) x 6 [12]
16. ( dec ) x 6 [6]
Finish off and shut. Work away your thread.
Sew the head onto the main body, just above the place where the two legs join into one.
Rear leg (x2)
1. 5 in a magic circle [5]
2. sc, inc, sc, inc, sc [7]
3-6. sc around [7]
Finish off and stuff. Leave a long thread.
Tail
1. 5 in a magic circle [5]
2-12. sc around [5] Finish off and stuff if possible. Leave a long thread.
Sew the rear legs on the bottom of the body. Also sew the tail at the back of the lower back. To be able to pose the tail to your liking, you’ll have to add a little piece of bendable metallic wire to the tail. I do this as follows: take a piece your wire of choice and fold it over. One end will have a curvy side, this is the end that will enter the tail. Because of the curvy side, no sharp endings will come sticking out of the tail later. Measure your folded piece of wire, and make sure that it’s just a little bit longer than the inside of the tail. So, if you push the wire into your tail, 95% will be in the tail, 5% will be sticking out. Then, push the tail onto the back of the cat body, and make sure that the 5% of sticking out wire (with the sharp endings) enters the main body of the cat. Then, sew the tail into place on your cat.
Also don’t forget to embroider his adorable tiny butt!
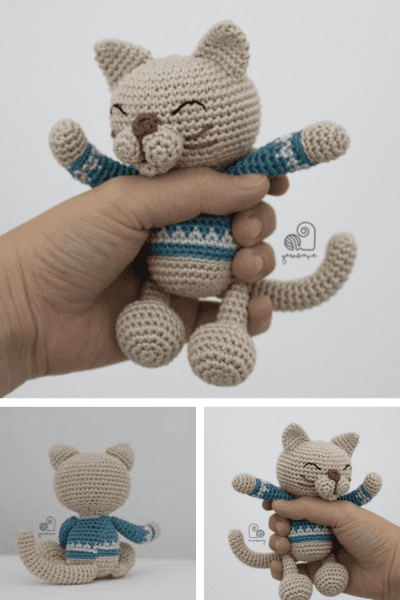
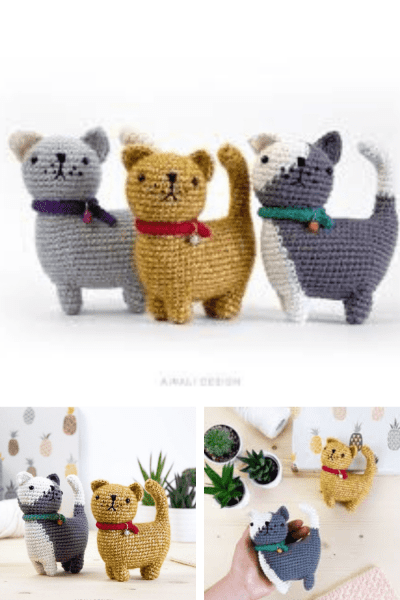
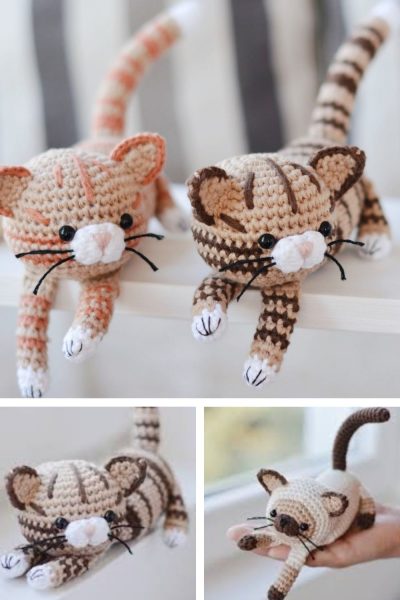
More Amigurumi Ideas;