Hello dear Amigurumi Followers
We add a new one to the free amigurumi patterns we have created for you. You can always get the most popular amigurumi patterns and the most preferred amigurumi crochet patterns on our site for free. Main crochets, amigurumi gazelles, amigurumi bears, amigurumi polar bears, amigurumi pandas, amigurumi penguins, amigurumi giraffes, amigurumi llama, amigurumi pigs, amigurumi rabbit, amigurumi clowns, amigurumi baby lambs, amigurumi lambs, amigurumi bees, amigurumi lambs dinosaurs, amigurumi elephants, amigurumi hippos, amigurumi monkeys, amigurumi cats, amigurumi dogs and more…
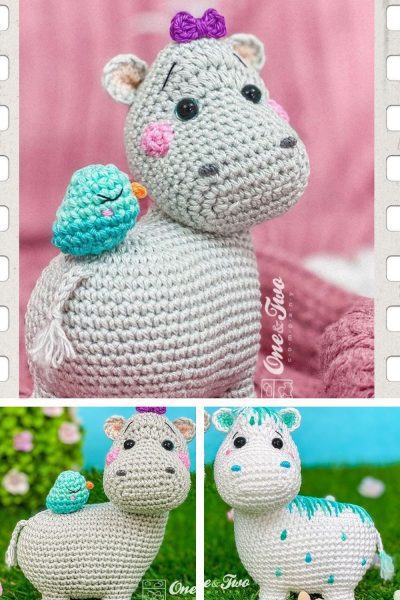
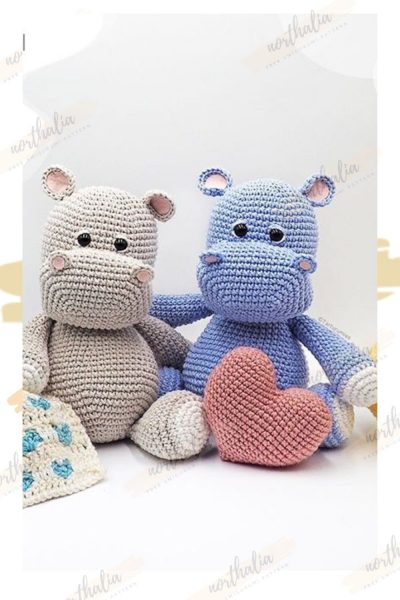
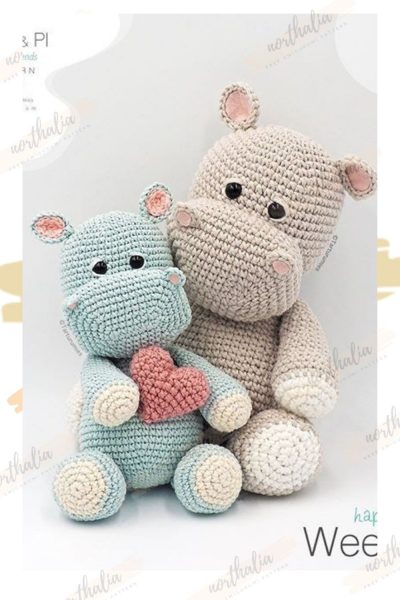
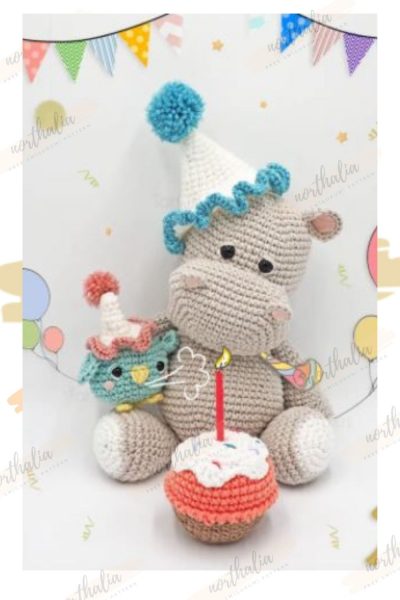
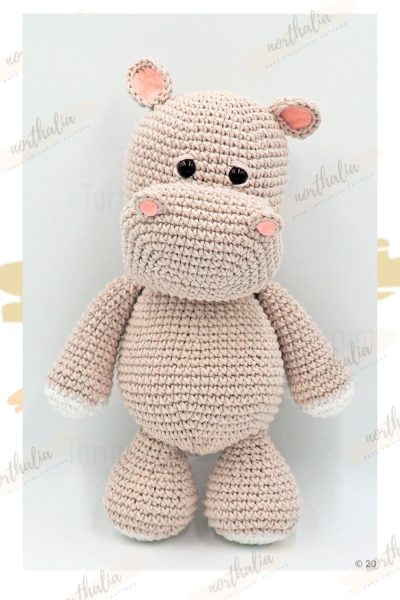
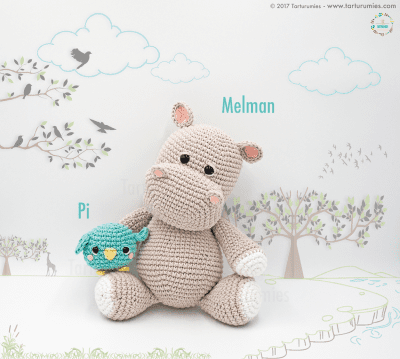
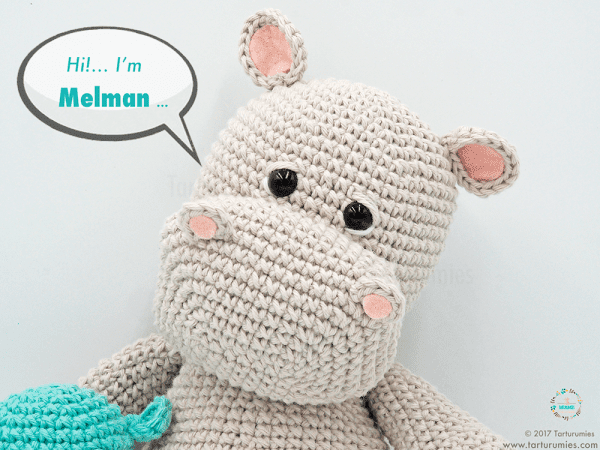
Our new free amigurumi crochet pattern Hippopotamus Melman and Pi.
Here is our pattern;
…ABBREVIATIONS…
- ch = chain stitch
- dec = decrease
- FO = fasten off
- inc = increase
- mm = millimeter(s)
- mr = magic ring
- sc = single crochet
- sl st = slip stitch
- st = stitch
- rep = repeat
- rnd(s)= round(s)
- * * x…= repeat instructions in asterisks … times
- Continuous round = Crochet all followed, without closing the rounds.
- Joined round = Go closing every rounds and climb to the next turn with a chain.
- Worked in Rows = Crochet in a base of chains and turning the crochet at the end each row.
…MATERIALS MELMAN…
- Yarn (for crochet hooks 3 – 3.5 mm/~ 2mm wide)
Colors: Off White – White - Felt
Color: Light Pink - Fiberfill (to stuff)
- Textile Glue (for glue some parts of felt)
- 10mm Safety eyes
…MATERIALS MELMAN…
- Yarn (for crochet hooks 3 – 3.5 mm/~ 2mm wide)
Colors: Yellow – White – Turquoise - Felt
Color: Light Pink - Fiberfill (to stuff)
- Textile Glue (for glue some parts of felt)
- 7mm Safety eyes
…TOOLS…
- 3,25mm Crochet Hook (Clover Amour – US D/3 – UK 10)
- Yarn Needle (for sew amigurumi parts)
- Scissors – Pencil – Ruler.
* WE START WITH MELMAN *
… HEAD (Part 1) …
Work in continuous round with off white color
Round 1.- Magic Ring(6)
Round 2.- *1inc* x6 (12)
Round 3.- *1sc, 1inc* x6 (18)
Round 4.- *2sc, 1inc* x6 (24)
Round 5.- *3sc, 1inc* x6 (30)
Round 6.- *4sc, 1inc* x6 (36)
Round 7.- *5sc, 1inc* x6 (42)
Round 8.- *6sc, 1inc* x6 (48)
Rounds 9 – 20.- 1sc in each st (48)
Round 21.- *6sc, 1dec* x6 (42)
Round 22.- *5sc, 1dec* x6 (36)
Round 23.- *4sc, 1dec* x6 (30)
Round 24.- *3sc, 1dec* x6 (24)
Round 25.- *2sc, 1dec* x6 (18)
Round 26.- *1sc, 1dec* x6 (12)Put the eyes in the head between the rnds. 12/13, counting from the bottom and leaving 5sc distance between them. Stuff the head as you crochet. FO, leaving a long tail.
… HEAD (Part 2) …
Work in continuous round with off white color
Start with: 7ch + 1ch to climb (8) < we work around both sides of the chain >
Round 1.- 6sc, 3sc in the same ch base < Would be the 7ch of the chain without counting the ch to climb > – Continue crochet in a continuous round around all the chain – 5sc, 2sc in the same ch base < Would be the 1ch of the chain but the other side – do not count the ch to climb > and to finish the round make 1sl st. (16)
Round 2.- < Make 1ch only to climb and from here crochet in a continuous round as usual > 1inc, 5sc, 1inc, 1sc, 1inc, 5sc, 1inc, 1sc
Round 3.- 1inc, 7sc, 1inc, 1sc, 1inc, 7sc, 1inc, 1sc (24)
Round 4.- 1sc, 1inc, 1inc, 6sc, 1inc, 1inc, 2sc, 1inc, 1inc, 6sc, 1inc, 1inc, 1sc (32)
Round 5.- 2sc, 1inc, 1inc, 9sc, 1inc, 1inc, 3sc, 1inc, 1inc, 9sc, 1inc, 1inc, 1sc (40)
Round 6.- 3sc, 1inc, 1inc, 12sc, 1inc, 1inc, 4sc, 1inc, 1inc, 12sc, 1inc, 1inc, 1sc (48)
Round 7.- 4sc, 1inc, 1inc, 15sc, 1inc, 1inc, 5sc, 1inc, 1inc, 15sc, 1inc, 1inc, 1sc (56)
Rounds 8 – 9.- 1sc in each st (56)
Round 10.- 4sc, 1dec, 1dec, 15sc, 1dec, 1dec, 5sc, 1dec, 1dec, 15sc, 1dec, 1dec, 1sc (48)
Rounds 11 – 12.- 1sc in each st (48)
Stuff the head (snout) as you crochet. FO, leaving a long tail.
… NOSTRILS (2 pieces) …
Work in continuous round with off white color
Round 1.- Magic Ring < Make like normal ring but do not close it > (8)
FO, leaving a long tail.
… EARS (2 pieces) …
Work in continuous round with off white color
Round 1.- Magic Ring (6)
Round 2.- *1inc* x6 (12)
Round 3.- *1sc, 1inc* x6 (18)
Don’t stuff. FO, leaving a long tail.
… BODY …
Work in continuous round with off white color
Round 1.- Magic Ring (6)
Round 2.- *1inc* x6 (12)
Round 3.- *1sc, 1inc* x6 (18)
Round 4.- *2sc, 1inc* x6 (24)
Round 5.- *3sc, 1inc* x6 (30)
Round 6.- *4sc, 1inc* x6 (36)
Round 7.- *5sc, 1inc* x6 (42)
Round 8.- *6sc, 1inc* x6 (48)
Round 9.- *7sc, 1inc* x6 (54)
Round 10.- *8sc, 1inc* x6 (60)
Rounds 11 – 14.- 1sc in each st (60)
Round 15.- *8sc, 1dec* x6 (54)
Rounds 16 – 17.- 1sc in each st (54)
Round 18.- *7sc, 1dec* x6 (48)
Rounds 19 – 20.- 1sc in each st (48)
Round 21.- *6sc, 1dec* x6 (42)
Rounds 22 – 23.- 1sc in each st (42)
Round 24.- *5sc, 1dec* x6 (36)
Round 25.- 1sc in each st (36)
Round 26.- *4sc, 1dec* x6 (30)
Round 27.- *3sc, 1dec* x6 (24)
Rounds 28 – 30.- 1sc in each st (24)
Stuff the body as you crochet. FO, leaving a long tail.
… ARMS (2 pieces) …
Work in continuous round with off white and white color
Start with white color
Round 1.- Magic Ring (6)
Round 2.- *1inc* x6 (12)
Round 3.- *1sc, 1inc* x6 (18)
Round 4.- *2sc, 1inc* x6 (24)
Change to off white color
Rounds 5 – 7.- 1sc in each st (24)
Round 8.- *2sc, 1dec* x6 (18)
Rounds 9 – 11.- 1sc in each st (18)
Round 12.- *4sc, 1dec* x3 (15)
Rounds 13 – 15.- 1sc in each st (15)
Round 16.- *3sc, 1dec* x3 (12)
Rounds 17 – 21.- 1sc in each st (12)
Stuff the arms as you crochet. FO, leaving a long tail.
… LEGS (2 pieces) …
Work in continuous round with off white and white color
Start with white color
Round 1.- Magic Ring (6)
Round 2.- *1inc* x6 (12)
Round 3.- *1sc, 1inc* x6 (18)
Round 4.- *2sc, 1inc* x6 (24)
Change to off white color
Round 5.- *3sc, 1inc* x6 (30)
Round 6.- *4sc, 1inc* x6 (36)
Round 7.- 1sc in each st (36)
Round 8.- *4sc, 1dec* x6 (30)
Round 9.- *3sc, 1dec* x6 (24)
Rounds 10 – 11.- 1sc in each st (24)
Round 12.- *2sc, 1dec* x6 (18)
Round 13.- 1sc in each st (18)
Round 14.- *1sc, 1dec* x6 (12)
Rounds 15 – 16.- 1sc in each st (12)
Stuff the legs as you crochet. FO, leaving a long tail.
… TAIL …
Work in continuous round with off white color
Round 1.- Magic Ring (3)
Round 2.- *1inc* x3 (6)
Rounds 3 – 5.- 1sc in each st (6)
Don’t stuff. FO, leaving a long tail.
| FELT PARTS |
 |
… ASSEMBLE MELMAN …
1.- Embroider the eyelids with a yarn of the same color as the head. Give 2 turns over the safety eye. Then embroider with white yarn a line under the safety eye.
2.- Sew on the head (part 1) the head (part 2). To do this, count from the top the head (part 1) until the Rnd.14 (it will be Rnd. under the eyes). Once there, count 13 / 14sc wide and centered with eyes. Use that base to match the top of the head (part 2). Place it between Rnd.14 and 25 and sew.
3.- Sew the nostrils between Rnds. 5 and 6 (counting from the seam under the eyes of part 2 of the head).
4.- Sew the ears to the head between Rnds.6 and 7 (counting from the top). Fold the ears a little at the time of sewing them to give them a longer shape.
5.- Glue the felt ears inside the crochet ears and glue the felt nostrils inside the crochet nostrils.
6.- Sew the legs to the body between the Rnds.5 to 7 (counting from the bottom).
7.- Sew the arms to the body between Rnds. 5 to 6 (counting from the top).
8.- Join the head (assembled) centered to body sewing the openings of head and body together.
9.- Sew the tail to the body looking to the side between the Rnds.7 to 9 (counting from the bottom).
NOTE 1: To make the assembly, always follow the instructions and the images. It will be much easier to understand the steps.
NOTE 2: If you don’t want to glue the pieces of felt, you can sew them as an alternative!
* * * * * * Ready Melman!!! * * * * * *

** WE CONTINUE WITH PI **

… HEAD / BODY …
Work in continuous round with turquoise color
Round 1.- Magic Ring (6)
Round 2.- *1inc* x6 (12)
Round 3.- *1sc, 1inc* x6 (18)
Round 4.- *2sc, 1inc* x6 (24)
Round 5.- *3sc, 1inc* x6 (30)
Rounds 6 – 11.- 1sc in each st (30)
Round 12.- *3sc, 1dec* x6 (24)
Put the eyes in the head between the rnds. 8/9, counting from the bottom and leaving 6sc distance between them..
Round 13.- *2sc, 1dec* x6 (18)
Round 14.- *1sc, 1dec* x6 (12)
Round 15.- *1dec* x6 (6)
Stuff the head/body as you crochet. FO.

… WINGS (2 pieces) …
Work in continuous round with turquoise color
Round 1.- Magic Ring (6)
Round 2.- *1inc* x6 (12)
Don’t stuff. FO, leaving a long tail.

… LEGS …
Worked in rows with yellow color < make in one piece >
Start with: 4ch + 1ch to climb (5)
Row 1.- 4sc, 5ch < the 5ch would be 4ch + 1ch to climb > (9)
Row 2.- < Turn the crochet to work in rows > 4sc < on the ch of the previous row >, 1sl st (5)
When sewing them to the body, give it a “V” shape as shown in the picture below. FO, leaving a long tail.
… TAIL …
Work in continuous round with turquoise color
Round 1.- Magic Ring < Make like normal ring but do not close it > (8)
FO, leaving a long tail.

| FELT PARTS |
 |
… ASSEMBLE PI …
1.- Sew the wings to the body in Rnd.7 (counting from the top).
2.- Sew the legs at the bottom of the body. Accommodate as if it were a “V” shape. Guide with the photo below the instructions of legs.
3.- Sew the tail to the body in Rnd.10 / 11 (counting from the top).
4.- Embroider the beak with yarn between Rnds.8 to 10 (counting from the top). Do it with a “V” shape, in the middle of the eyes and using 2sc of base.
5.- Embroider the eyelids with a yarn of the same color as the head/body. Give 2 turns over the safety eye. Then embroider with white yarn a line under the safety eye.
6.- Glue the cheeks in the Rnd.10 (counting from the top). One on each side of the eyes and diagonally.
NOTE 1: To make the assembly, always follow the instructions and the images. It will be much easier to understand the steps.
NOTE 2: If you don’t want to glue the pieces of felt, you can sew them as an alternative!
* * * * * * Ready Pi!!! * * * * * *

And you’re done! Enjoy your sweets friends!
More Amigurumi Ideas;
