Hello dear Amigurumi Followers
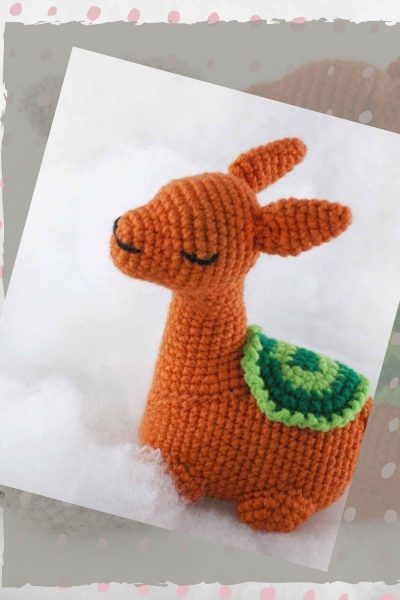
We add a new one to the free amigurumi patterns we have created for you. You can always get the most popular amigurumi patterns and the most preferred amigurumi crochet patterns on our site for free. Main crochets, amigurumi gazelles, amigurumi bears, amigurumi polar bears, amigurumi pandas, amigurumi penguins, amigurumi giraffes, amigurumi llama, amigurumi pigs, amigurumi rabbit, amigurumi clowns, amigurumi baby lambs, amigurumi lambs, amigurumi bees, amigurumi lambs dinosaurs, amigurumi elephants, amigurumi hippos, amigurumi monkeys, amigurumi cats, amigurumi dogs and more…
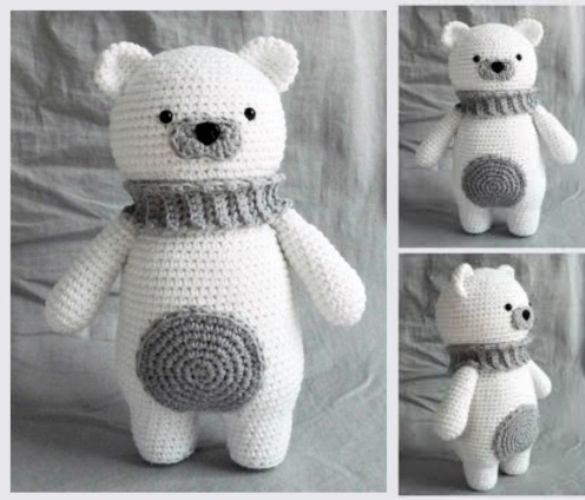
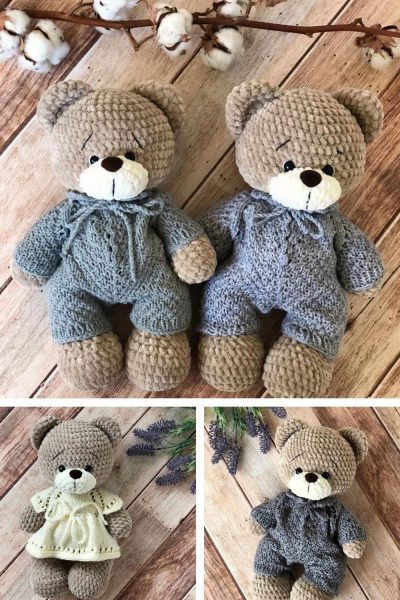
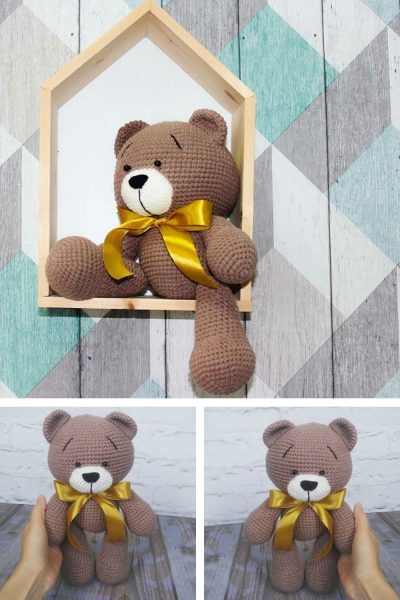
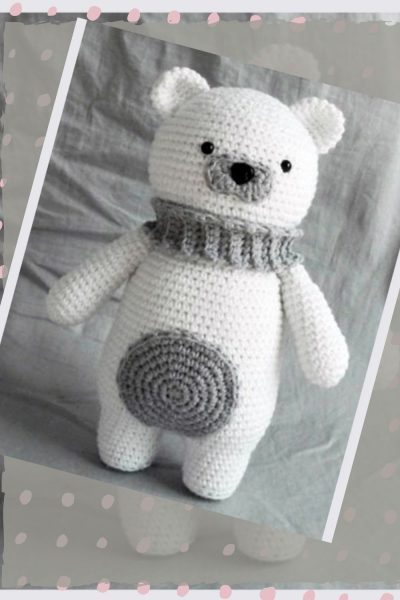
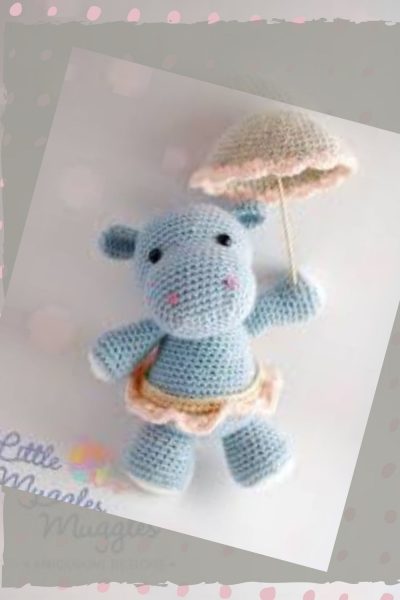
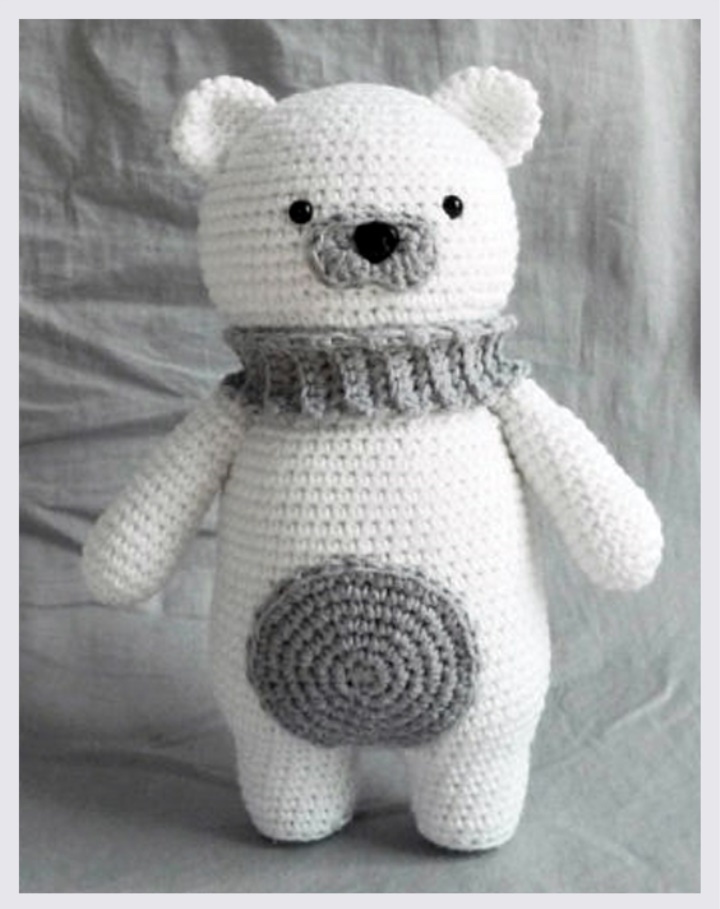
Our new free amigurumi crochet pattern Polar Bear.
Here is our pattern;
Materials and Tools
Yarn for hand knitting YarnArt JEANS (1 hank white and a little gray) Or you can use
any other yarn for your taste.
Hook No. 1.5
Eyes with secure fastening (I have black carnations 6 mm in diameter) or small black
buttons
Spout with secure fastening (I have black, 1 cm wide at the widest point) or you can embroider
a spout of black yarn.
Marking ring or thread of contrasting color, for marking the beginning of the row Scissors
Needle
Filler. Synthepuh, holofayber. Good mood 🙂
The following abbreviations are used in this scheme: VP – air loop
P – increase
PSN – polostolbik with a cot SCN – a column without a crochet SSN – a column with a crochet
SS – connection column U – reduction
(12) – the number of loops that you should get in the row after it
in this example 12 loops
Legs – Torso – Head (whole knitted piece) Begin to knit a bear cub with a yarn of white yarn
colors.
1st row: make an amigurumi ring, type 6 loops (6) 2nd row: increase in each loop (12)
3rd row: (1 sc, 1p) * 6 times (18)
4th row: 18 RLS behind the back wall (18) 5 – 9 rows: 18 RLS (18)
One leg is ready, the thread can be cut, fastened and hide the tip.
Inside the legs, as a foot, you can insert a circle of cardboard or plastic for a larger
stability of the toy (optional step).
Repeat all the same for the second leg, this time the thread is not cut off, but we continue to knit further
trunk.
To do this, we unfasten 4 air loops and attach this chain to the second leg, immediately tying
the following sequence of loops:
10th row: 18 RLS (we tie a leg), 4 RLS (in a chain), 18 RHS (we tie a second leg), 4 RLS
chain) (44)
So we made a full circle by tying 44 RLS. 11th row: 7 sc, 3 p, 19 sc, 3 p, 12 sc
(50)
12th row: 50 sc (50)
13th row: 9 sc, 3 p, 22 sc, 3 p, 13 sc scores (56)
14 – 31st series: 56 sc (56)
32nd series: 15 sc, 1 od, 26 sc, 1 y, 11 sc (54)
The 33rd series: (7 СБН, 1У) * 6 times (48)
34th series: 48 sc (48)
35th row: (6 sc, 1U) * 6 times (42)
36th row: 42 scs (42) 37th row: (5 sc, 1U) * 6 times (36)
38th row: (4 sc, 1U) * 6 times (30)
39th row: (4 sc, 1p) * 6 times (36)
40th row: (5 sc, 1p) * 6 times (42)
41st row: (6 sc, 1p) * 6 times (48)
42nd row: (7 sc, 1p) * 6 times (54)
43rd row: (8 sc, 1p) * 6 times (60)
44 – 52nd series: 60 sc (60)
It’s time to establish eyes and a spout with a “secure attachment”. If the eyes and spout are
sewn (embroidered), this step can still be skipped.
Eyes set between the 48th and 49th rows, the distance between the eyes 9 loops. In advance
prepared muzzle with a spout (see page 9) set between 46th and 47th rows exactly on
the center of the head.
Fill the toy with filler, continue to add the filler as necessary 53rd row: (8
СБН, 1У) * 6 times (54)
54th series: (7 sc, 1U) * 6 times (48)
55th row: (6 sc, 1U) * 6 times (42)
56th row: (5 sc, 1U) * 6 times (36)
57th row: (4 sc, 1U) * 6 times (30)
58th row: (3 sc, 1U) * 6 times (24)
59th row: (2 sc, 1U) * 6 times (18)
60th row: (1 СБН, 1У) * 6 times (12) 61st row: 6U (6)
The remaining stitches are tightened, the thread is fastened, and the tip is hidden inside the toy. Ears (2 items)
We knit white yarn.
1st row: make an amigurumi ring, type 6 loops (6) 2nd row: increase in each loop (12)
3rd row: (2 sc, 1p) * 4 times (16)
4 – 6th series: 16 sc (16)
Cut the thread, leave the tip about 30 cm with it, we sew the ears to the head.
Paws (2 parts)
We knit white yarn.
1st row: make an amigurumi ring, type 6 loops (6) 2nd row: increase in each loop (12)
3rd row: (1 sc, 1p) * 6 times (18)
4 – 6th series: 18 sc (18)
7th row: (4 sc, 1U) * 3 times (15)
8 – 13th series: 15 sc (15)
14th row: (3 sc, 1U) * 3 times (12)
15th-17th series: 15 sc (12)
Lightly fill the pads with filler. 18th row: 6Y (6)
Cut the thread, leave the tip about 30 cm with its help, we sew the feet to the body. Tummy (1
detail)
We knit yarns of gray color.
1st row: make an amigurumi ring, type 6 loops (6) 2nd row: increase in each loop (12)
3rd row: (1 sc, 1p) * 6 times (18)
4th row: (2 sc, 1p) * 6 times (24)
5th row: (3 sc, 1p) * 6 times (30)
6th row: (4 sc, 1p) * 6 times (36)
7th row: (5 sc, 1p) * 6 times (42)
Cut the thread, leave the tip about 30 cm with it, we’ll sew the tummy to the body.
Tail (1 piece)
We knit white yarn.
1st row: make an amigurumi ring, on a 6 loops of iron (6)
2nd row: an increase in each loop (12)
3rd row: (1 sc, 1p) * 6 times (18)
4th series: 18 sc (18)
Cut the thread, leave the tip about 30 cm with its help, we sew the tail to the body.
Muzzle (1 piece) We knit a yarn of gray color chain of 6 air loops.
1st row: We make an increase in the 2nd from the hook air loop, 3 RLS, we tie 4 RLS to the last
loop of the chain, and further in the reverse direction 3 СБН, 1 П in the last loop. As a result: the chain
tied in a circle, tying up 4 RLS in the outer hinges, in total there were 14 loops in a circle.
2nd row: in the form of a label for each loop: 1st loop – RLS, PSN
2nd loop – 2 SSN
3rd loop – SSN, SSN 4th loop – SS
5th loop – PSN, SSN 6th loop – 2 SSN
7th loop – PSN, RLS 8th loop – RLS
9th loop – SS (do not knit further)
Cut the thread, leave the tip about 30 cm with it, we sew the muzzle to the head. If
you are going to use the spout “with a secure mount”, it’s time to put it in place.
“Nose-carnation” set in the first row in the center, so that the semicircular parts of the muzzle looked
down.
Together with the muzzle, “nose-carnation” is placed in the head between the 46th and 47th rows in the center (cm
page 6), fix the washer from the inside and use the left tail to sew itself
a muzzle to a head. Scarf (1 piece)
We take the gray yarn chain of 7 VP and knit a scarf for our bear cub of the required length. I have a scarf
connected with an elastic band, you can tie in any convenient way for you. We are trying on a ready-made scarf and sewing it together
edges together already on a ready-made bear cub.
Assembly and design
After you finish knitting all the parts, you should get the following set of details: legs-
trunk-head (solid part) with an inserted nose-muzzle and eyes “with a safe
fastening “, as well as ears, paws, puziko and scarf.
We pass directly to the assembly.
Grasping each eyelet around the perimeter, sew a muzzle.
In the same way we sew the puziko, having fixed its position by tailors
pins.
With the help of tailbands we have symmetrical ears and sew them to the head. Places
The location of the handles is also first found with the help of tailor’s pins, and then sewed.
In the end, we put on a scarf and sew it like a scarf-snood-pipe right on the bear cub.
If desired, you can add additional accessories: suspension, cap, sled, felt boots) This
stage assembly is over, and you have a ready-made cozy toy made by yourself!
I’m sure that this bear cub will bring you only positive emotions, will be excellent
friend or a nice gift!
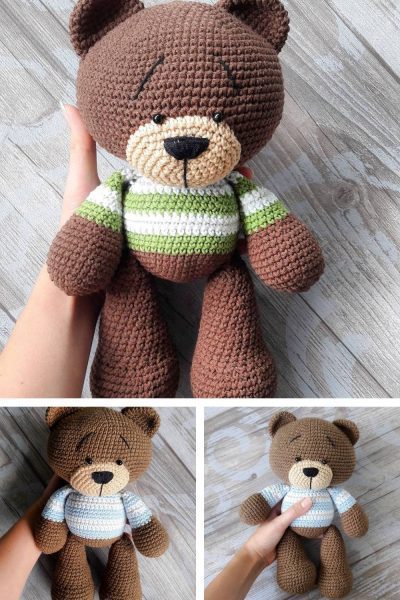
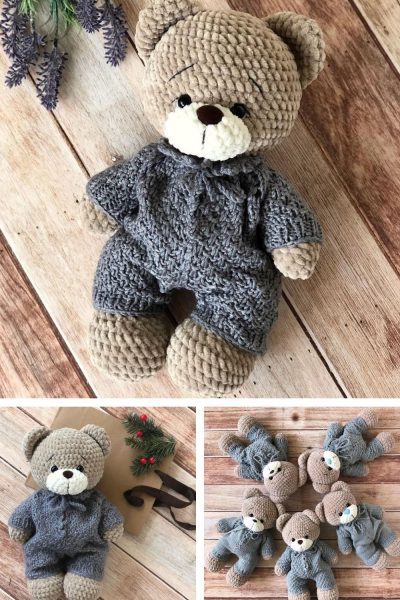
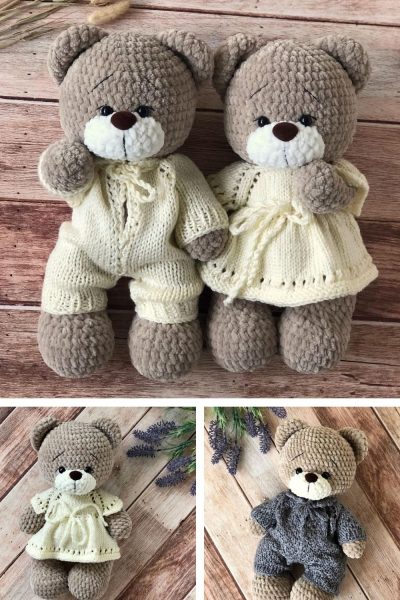
More Amigurumi Ideas;