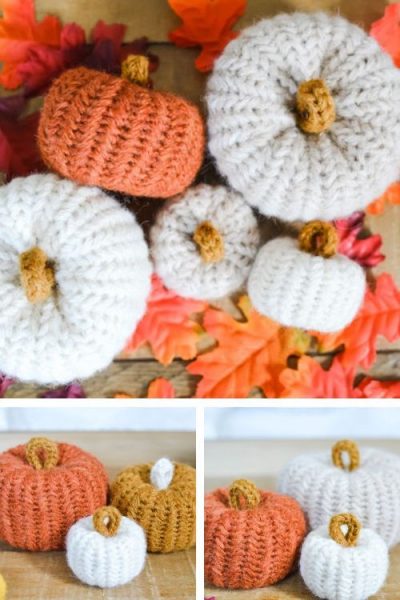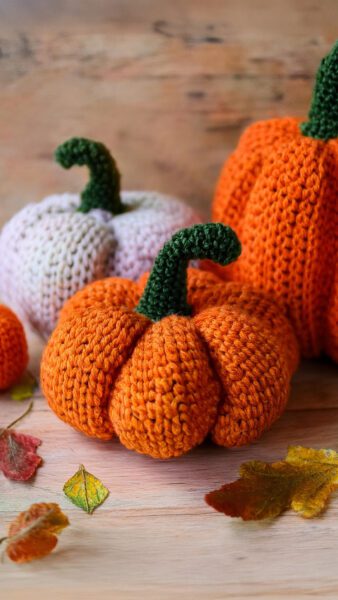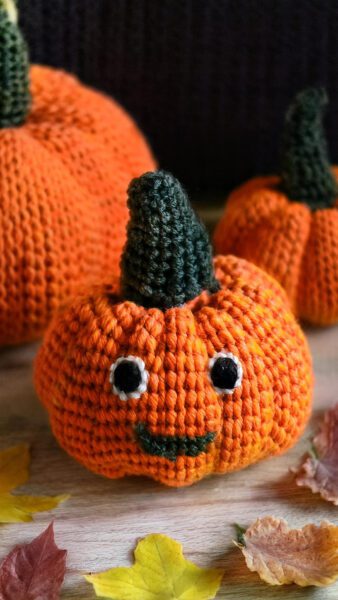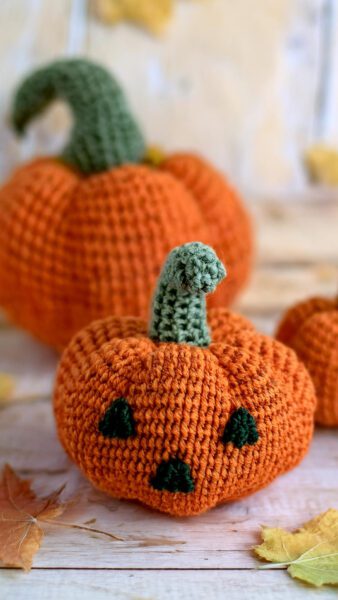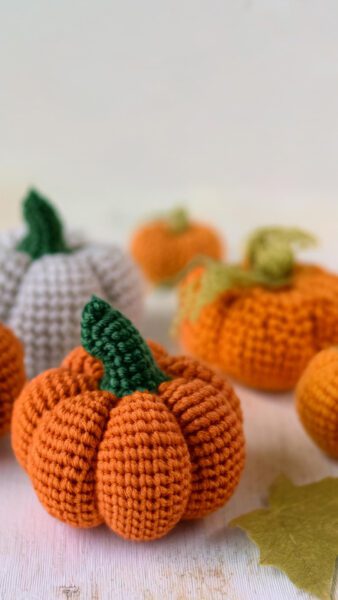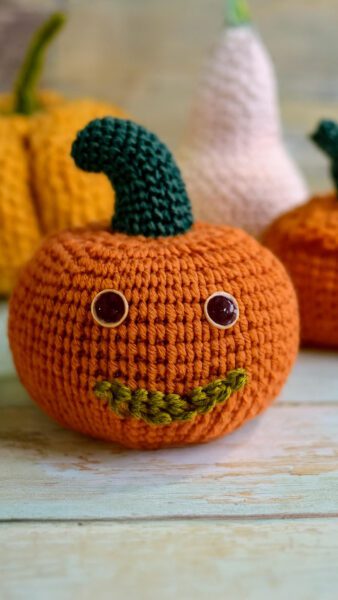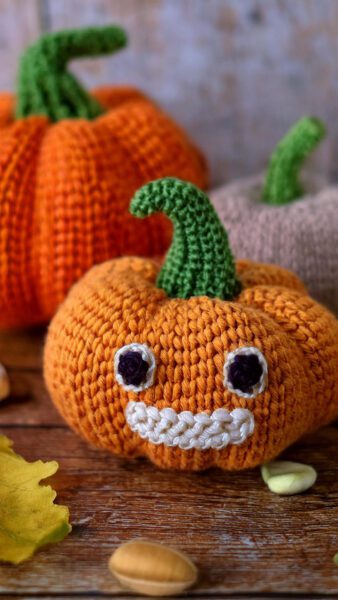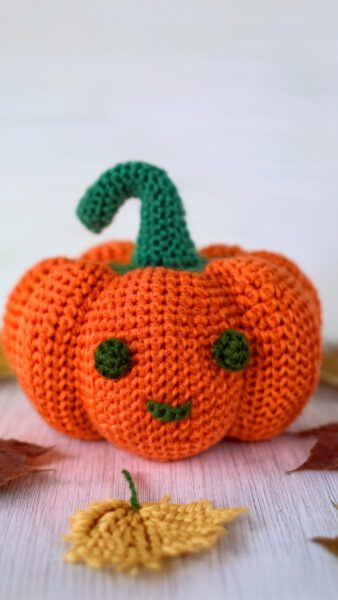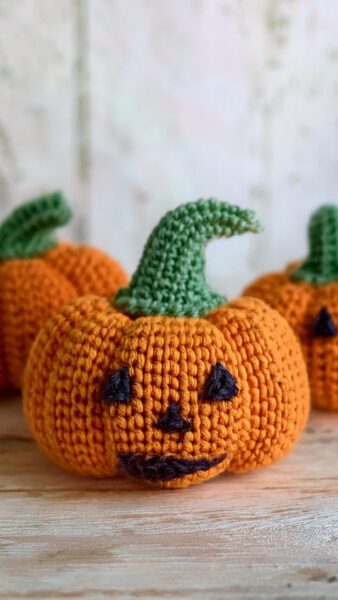
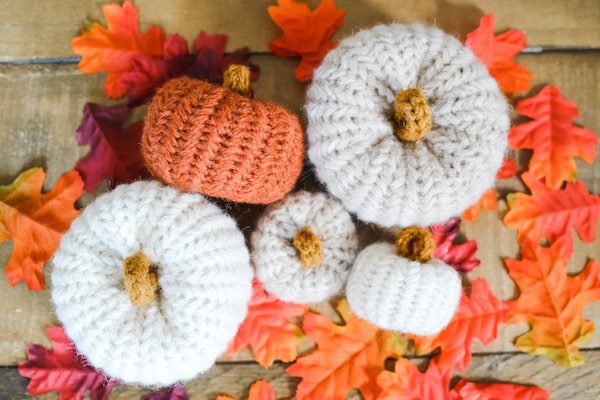
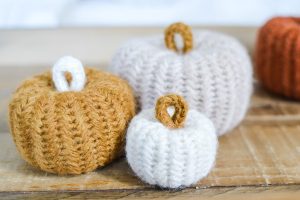
Hello dear amigurumi followers, we add a new one to the free amigurumi pattern. You can always follow us to reach the newest, most popular, most accurate pattern. Here is Amigurumi Pumpkin Crochet;
Designer: Yarn Society
Herringbone Single Crochet
- Note: when the pattern states, right side [RS], place your hook from front to back.
- When the pattern states, wrong side [WS], place your hook from back to front.
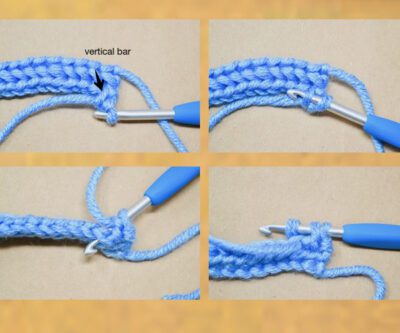
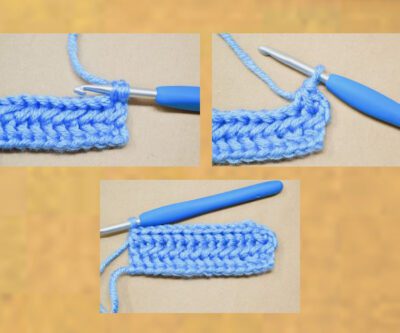
- R1: [RS] Working into the back bumps of the chain, sc into the 2nd chain from the hook, hsc across the row, turn. Step-by-step pictures below.
- Make a slip knot and chain desired amount of stitchesI chained 15 for this example swatch.
- Working into the back bumps only
- sc into the 2nd chain ‘back bump’ from the hook Notice the previous stitch’s vertical bar.
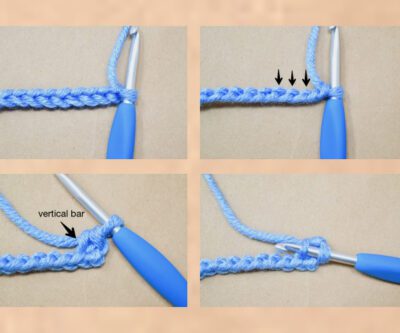
- Insert hook under the ‘vertical bar’ of the previous stitch
- Then into the next back bump
- Yarn over and pull up a loop (pull the loop to the height of the previous stitch)
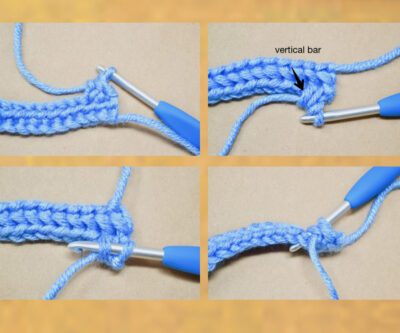
- Yarn over and pull through all three loops on the hook (first hsc complete)Notice the previous stitch’s vertical bar.
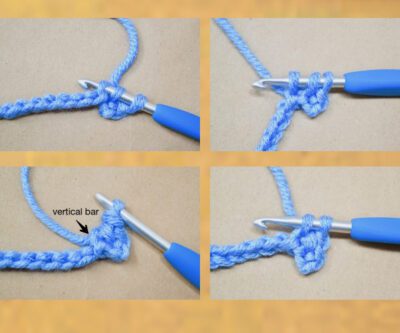
- For the next hsc, insert hook under the ‘vertical bar’ of the previous stitch
- Then into the next back bump
- Yarn over and pull up a loop (pull the loop to the height of the previous stitch)
- Yarn over and pull through all three loops on the hook

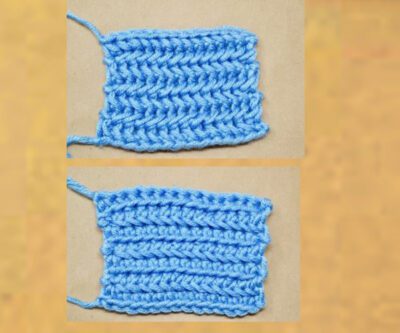
- Continue hsc across the row This is considered the right side of the stitch – shows the herringbone design.
- Turn your work
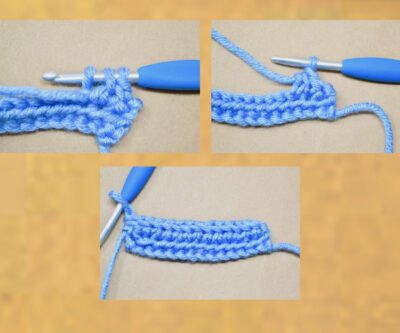
- R2: [WS] Chain 1, (working from back to front) sc into the first stitch, hsc across the row, turn. Step-by-step pictures below.
- Chain 1
- Insert your hook into the first stitch from back to front Move your working yarn to the front.
- Yarn over and pull up a loop (pull the loop to the height of the previous stitch)This part feels a bit odd, as you pull the yarn through, the crochet hook will turn. Please watch the video tutorial if you need more help.
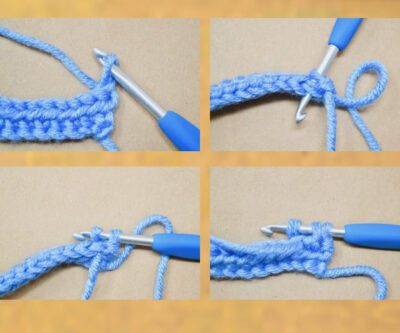
- Yarn over and pull through two loops on the hook, completing a single crochet
- Rotate the swatch so the top of the “V’s” are facing you and the wrong side is facing up. Notice the previous stitch’s vertical bar.
- Insert hook under the ‘vertical bar’ of the previous stitch
- Then into the next stitch from back to front
- Yarn over and pull up a loop (pull the loop to the height of the previous stitch)The hook will turn as you pull the yarn through.
- Yarn over and pull through all three loops on the hook (first hsc complete)
- For the next hsc, rotate the swatch again. Notice the previous stitch’s vertical bar.
- Insert hook under the ‘vertical bar’ of the previous stitch
- Then into the next stitch from back to front
- Yarn over and pull up a loop (pull the loop to the height of the previous stitch)The hook will turn as you pull the yarn through.
- Yarn over and pull through all three loops on the hook
- Continue hsc across the row. This is considered the wrong side of the stitch – it has ridges
- Turn your work
- R3: [RS] Chain 1, sc into the first stitch, hsc across the row, turn. Step-by-step pictures below.
- Chain 1
- Single crochet into the first stitch.Notice the previous stitch’s vertical bar.
- Insert hook under the ‘vertical bar’ of the previous stitch
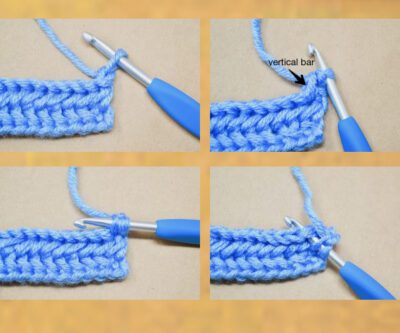
- Then into the next stitch
- Yarn over and pull up a loop (pull the loop to the height of the previous stitch)
- Yarn over and pull through all three loops on the hook (first hsc complete)
- Continue hsc across the rowThis is considered the right side of the stitch – shows the herringbone design.
- Turn your work
- Continue by repeating R2 and R3 until you get to the desired length.
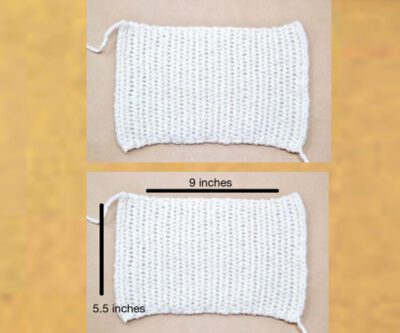
- Right SideThe side with the herringbone design.
- Wrong side The side with the ridges.
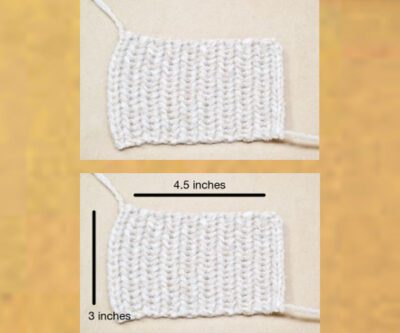
Small Pumkin
Using a E hook
- Make a slip knot leaving about a 12 inch tail. Chain 18
- R1: Working into the back bumps of the chain, sc into the 2nd chain from the hook, hsc in the next 16 sts, turn {17 sts}
- R2: [WS] Chain 1, sc into the first stitch, then hsc in the next 16 sts, turn {17 sts}Working from back to front
- R3: [RS] Chain 1, sc into the first stitch, then hsc in the next 16 sts, turn {17 sts}Working from front to back
- R4-18: Repeat R2 and R3You’ll be ending with a R2 which is [WS] from back to front
- Fasten off and leave a long tail, about 15 inches long.
- Head over to the ‘Close Pumpkin’ tab.
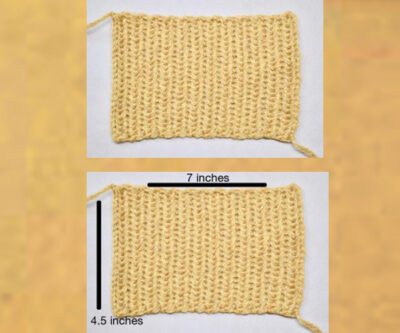
Medium Pumpkin
- Using a 7/4.5 hookPlease go to the ‘Herringbone Single Crochet’ tab for step-by-step pictures or watch the video tutorial.
- Make a slip knot, leaving about a 12 inch tail, and chain 24
- R1: Working into the back bumps of the chain, sc into the 2nd chain from the hook, hsc in the next 22 sts, turn {23 sts}
- R2: [WS] Chain 1, sc into the first stitch, then hsc in the next 22 sts, turn {23 sts}Working from back to front
- R3: [RS] Chain 1, sc into the first stitch, then hsc in the next 22 sts, turn {23 sts}Working from front to back
- R4-24: Repeat R2 and R3You’ll be ending with a R2 which is [WS] from back to front
- Fasten off and leave a long tail, about 15 inches long.
- Head over to the ‘Close Pumpkin’ tab.
Large Pumpkin
- Using an H hookPlease go to the ‘Herringbone Single Crochet’ tab for step-by-step pictures or watch the video tutorial.
- Make a slip knot, leaving about a 15 inch tail, and chain 30
- R1: Working into the back bumps of the chain, sc into the 2nd chain from the hook, hsc in the next 28 sts, turn {29 sts}
- R2: [WS] Chain 1, sc into the first stitch, then hsc in the next 28 sts, turn {29 sts}Working from back to front
- R3: [RS] Chain 1, sc into the first stitch, then hsc in the next 28 sts, turn {29 sts}Working from front to back
- R4-30: Repeat R2 and R3.You’ll be ending with a R2 which is [WS] from back to front
- Fasten off and leave a long tail, about 20 inches long.
- Head over to the ‘Close Pumpkin’ tab.
Close Pumpkin
- Use this technique for all pumpkin sizes.
- Fold the piece in half with the herringbone design facing you. Thread the shorter tail into a yarn needle.
- Align the ends and begin to whipstitch. Thread the needle into the first stitch.
- Then thread your needle into the first stitch on the other side of the piece.
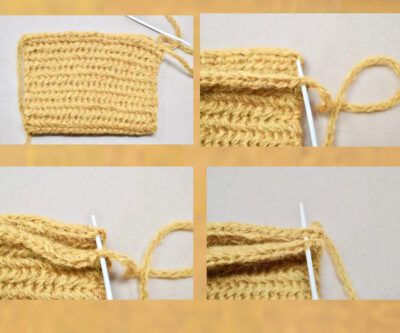
- Move over one stitch and continue the whipstitch.
- Whipstitch down the row and weave in the end.
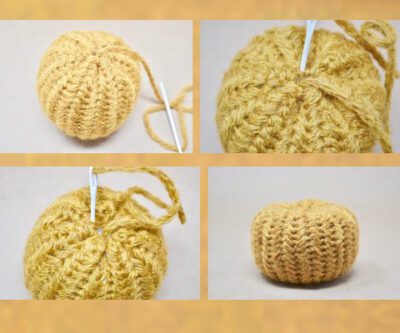
- Thread the yarn needle through the other yarn tail and complete a running stitch. Insert the needle out through a stitch.
- And then in through a stitch. Continuing that pattern until you reach the end.
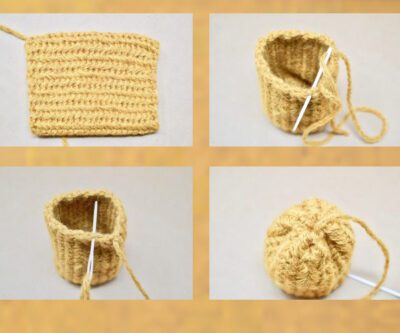
- Cinch the running stitch closed.
- Stuff the pumpkin.
- Thread the needle up through the pumpkin.
- Begin to make another running stitch. Insert a yarn needle out through a stitch.
- And then in through a stitch. Continuing that pattern until you reach the end.
- Cinch the running stitch closed.
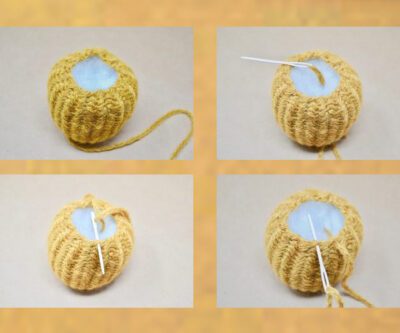
- Insert the yarn needle down the top center reaching through to the bottom center.
- Re-insert your needle through the bottom center and pull through to the top again. Each time you do this, move the yarn needle over slightly to grab a bit a yarn near the middle.
- Pull taut to bring the middle together. This will give the pumpkin some shape.
- Make a knot on the bottom of the pumpkin to secure and finish off by weav
Stems and Assembly
- Small Stem
- Using a D hook
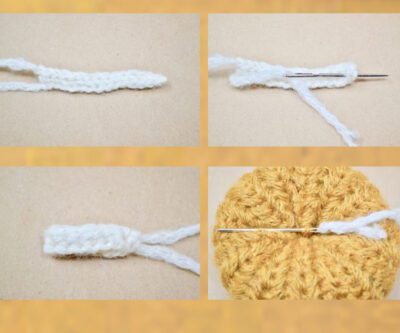
- Make a slip knot, leaving about a 4 inch tail, and chain 13
- R1: Working into the back bumps of the chain, sc into the 2nd chain from the hook, hsc in the next 11 sts, turn {12 sts}
- Fasten off and leave about a 4 inch tail.Scroll down to see how to attach the stem.
- Medium Stem
- Using a G hook
- Make a slip knot, leaving about a 4 inch tail, and chain 15
- R1: Working into the back bumps of the chain, sc into the 2nd chain from the hook, hsc in the next 13 sts, turn {14 sts}
- Fasten off and leave about a 4 inch tail.Scroll down to see how to attach the stem.
- Large Stem
- Using a 7/4.5 hook
- Make a slip knot, leaving about a 4 inch tail, and chain 17
- R1: Working into the back bumps of the chain, sc into the 2nd chain from the hook, hsc in the next 15 sts, turn {16 sts}
- Fasten off and leave about a 4 inch tail.
- Fold the stem in half. Thread an end into a yarn needle and weave the yarn tail through to the other side.
- Repeat with the second tail. Do not go into the same stitch.
- Weave one of the ends near the middle of the pumpkin.
- Make a double knot with the two ends.
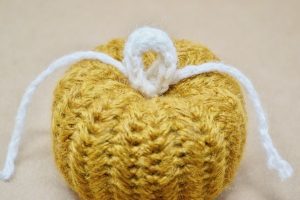
- Weave in both ends.
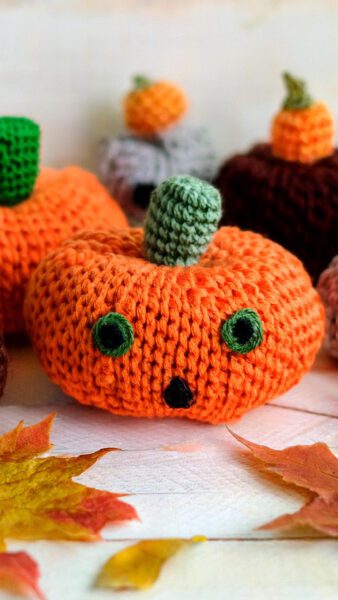
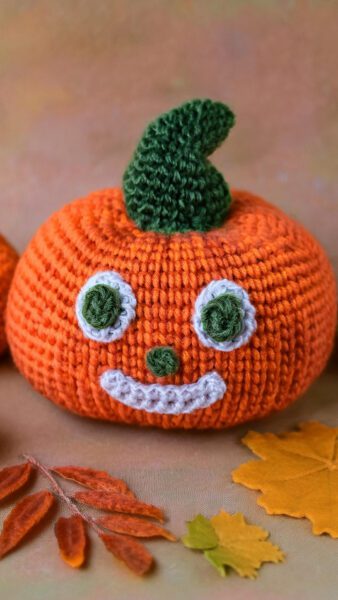
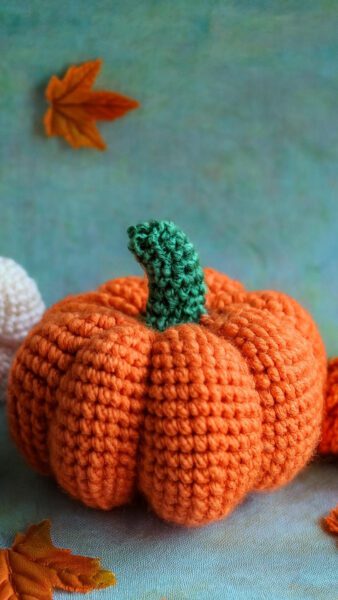
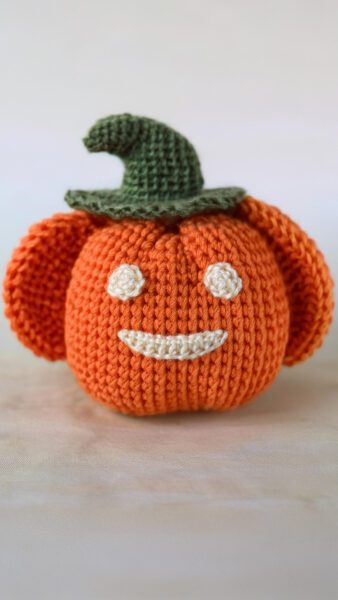
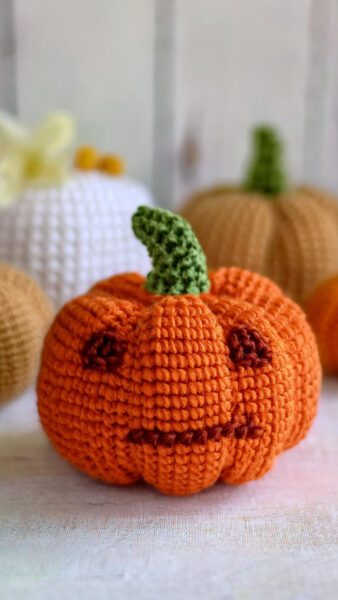
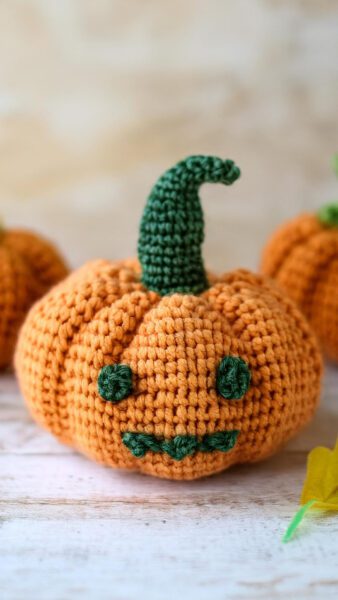
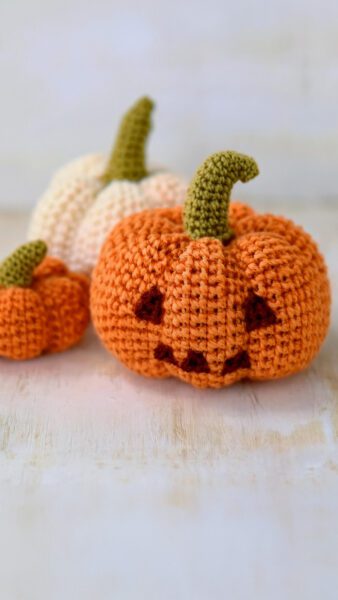
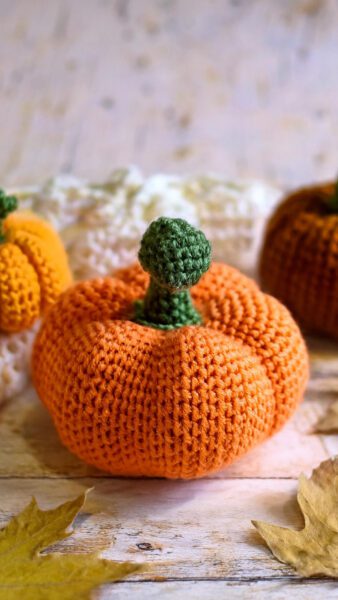
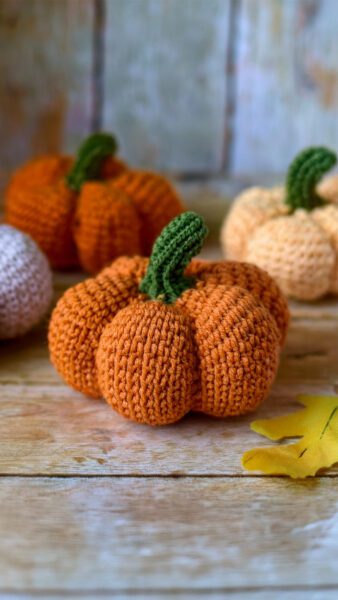
- Enjoy your pumpkins!
- Decorate the whole house!

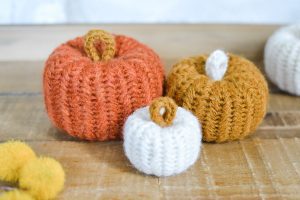
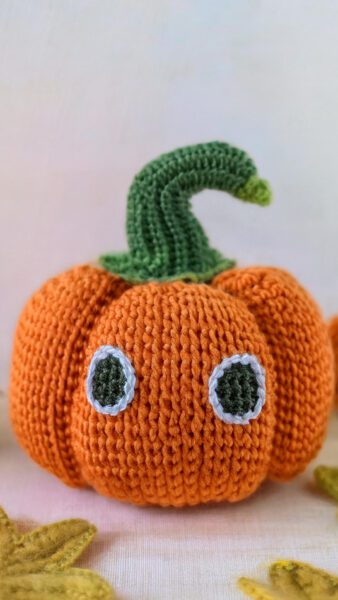
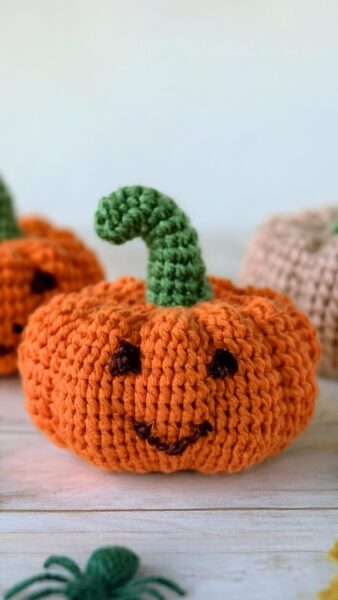
Finish Amigurumi Pumpkin Crochet.
You can check out other Amigurumi Halloween patterns here. We will continue to share free amigurumi patterns with you. Follow Northalia Amigurumi Pattern for more free Amigurumi patterns. You can visit Northalia Crochet for everything you want to know about amigurumi techniques and amigurumi in general.
More Amigurumi Ideas;