Hello dear Amigurumi Followers
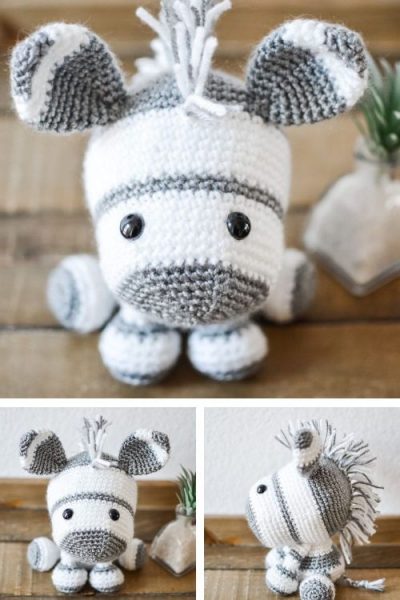
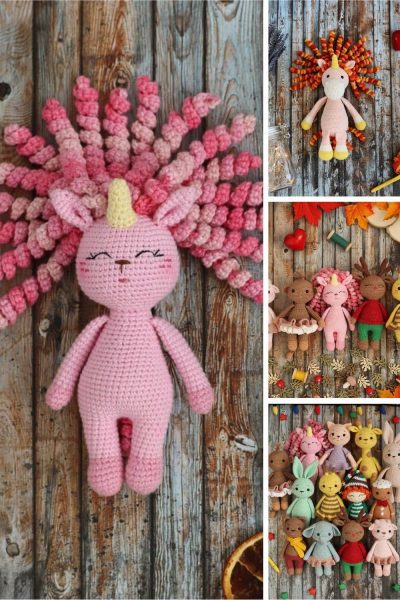
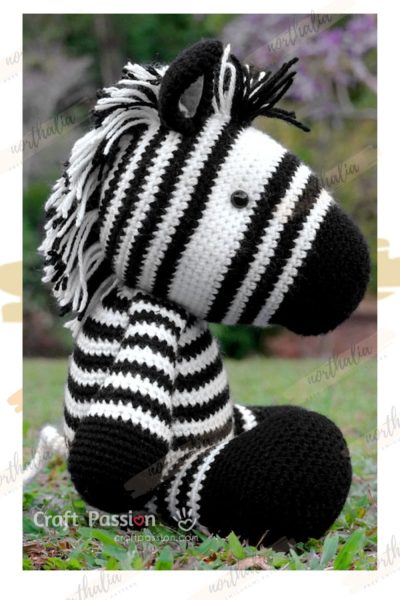
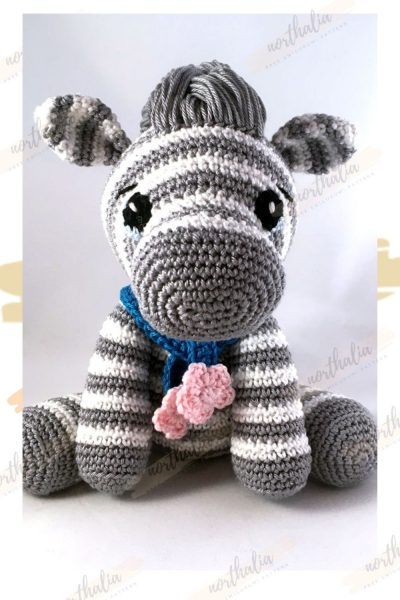
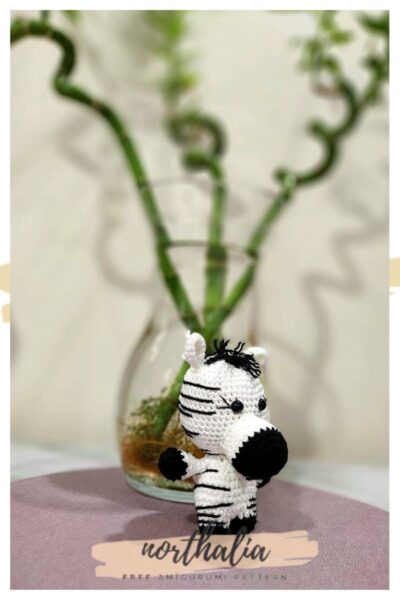
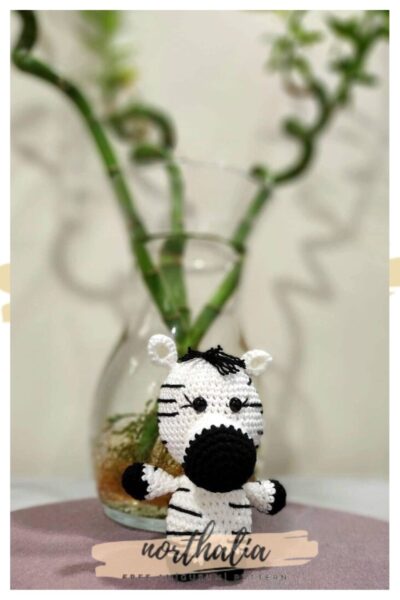
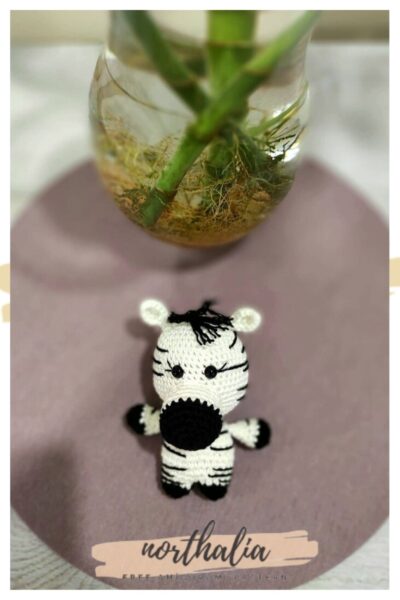
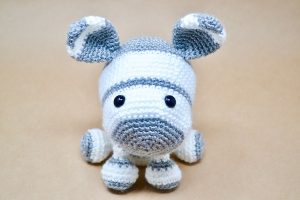
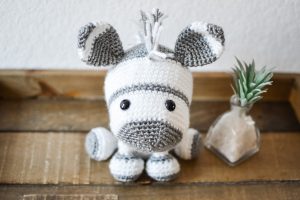
Hello dear amigurumi followers, we add a new one to the free amigurumi pattern. You can always follow us to reach the newest, most popular, most accurate pattern. Here is Amigurumi Zebra;

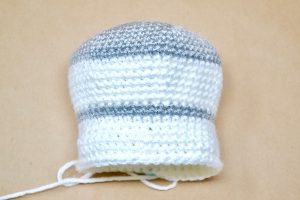
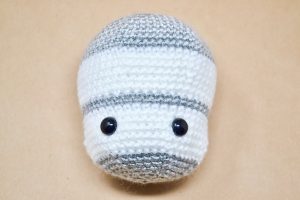
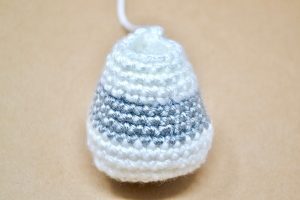
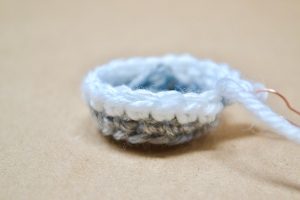
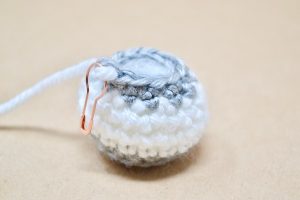
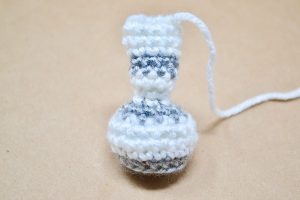
Head
Using color gray
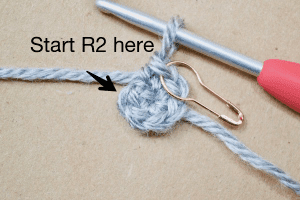
R1: 6 sc into a magic circle {6 sts}Alternate way to begin: chain 2, sc 6 times in 2nd chain from hook {6 sts}

R2: (inc) 6 times {12 sts}
R3: (inc, sc in next st) 6 times {18 sts}
R4: (inc, sc in next 2 sts) 6 times {24 sts}
R5: (inc, sc in next 3 sts) 6 times {30 sts}
R6: (inc, sc in next 4 sts) 6 times {36 sts}
R7: (inc, sc in next 5 sts) 6 times {42 sts}
R8: (inc, sc in next 6 sts) 6 times {48 sts}
R9: (inc, sc in next 7 sts) 6 times {54 sts}
R10: (inc, sc in next 8 sts) 6 times {60 sts}

R11-13: sc in next 60 sts {60 sts}
Change to color white
R14: (dec, sc in next 8 sts) 6 times {54 sts}
R15-16: sc in next 54 sts {54 sts}
R17: (dec, sc in next 7 sts) 6 times {48 sts}

R18-19: sc in next 48 sts {48 sts}
Change to color gray
R20: (dec, sc in next 6 sts) 6 times {42 sts}
R21: sc in next 42 sts {42 sts}
Change to color white
R22-23: sc in next 42 sts {42 sts}Optional: Mark R24 with a stitch marker – this is where you’ll place the eyes later in the pattern.
R24: (inc, sc in next 6 sts) 6 times {48 sts}
R25: (inc, sc in next 7 sts) 6 times {54 sts}
R26: (dec, sc in next 7 sts) 6 times {48 sts}
R27: (dec, sc in next 6 sts) 6 times {42 sts}
Change to color gray
R28: sc in next 42 sts {42 sts}
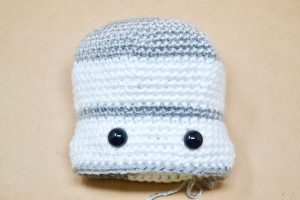
Place 12mm safety eyes between R24 and R25, leaving 8 stitches between the eyes. Secure the eyes and begin to stuff the head, continue as you crochet.
R29: (dec, sc in next 5 sts) 6 times {36 sts}
R30: (dec, sc in next 4 sts) 6 times {30 sts}
R31: (dec, sc in next 3 sts) 6 times {24 sts}
R32: (dec, sc in next 2 sts) 6 times {18 sts}
R33: (dec, sc in next st) 6 times (12 sts}
R34: (dec) 6 times {6 sts}
Fasten off and leave a long piece of yarn to sew the head shut.If you need help in closing an amigurumi piece, refer to my tutorial link in the “Pattern Example”.
Weave the rest of the yarn into the head and set aside for assembly.
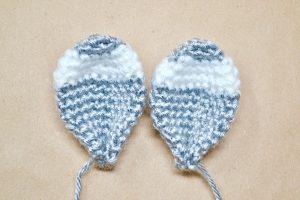
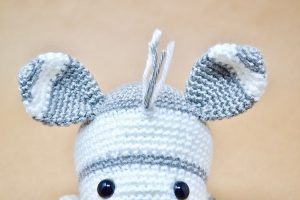
Ears
Make 2
Using color gray
R1: 3 sc into a magic circle {3 sts}Alternate way to begin: chain 2, sc 3 times in 2nd chain from hook {3 sts}
R2: (inc) 3 times {6 sts}
R3: (inc, sc in next st) 3 times {9 sts}
R4: (inc, sc in next 2 sts) 3 times {12 sts}
Change to color white
R5: (inc, sc in next 3 sts) 3 times {15 sts}
R6: (inc, sc in next 4 sts) 3 times {18 sts}
R7: (inc, sc in next 5 sts) 3 times {21 sts}
Change to color gray
R8: (inc, sc in next 6 sts) 3 times {24 sts}
R9: (dec, sc in next 6 sts) 3 times {21 sts}
R10: sc in next 21 sts {21 sts}
R11: (dec, sc in next 5 sts) 3 times {18 sts}
R12: sc in next 18 sts {18 sts}
R13: (dec, sc in next 4 sts) 3 times {15 sts}
R14: sc in next 15 sts {15 sts}
R15: (dec, sc in next 3 sts) 3 times {12 sts}
Fasten off and leave a long tail. No stuffing needed.
Flatten the ears.
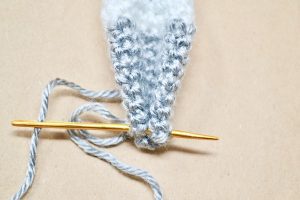
Pinch the bottoms shut and sew through all 4 loops.
Set aside until assembly.
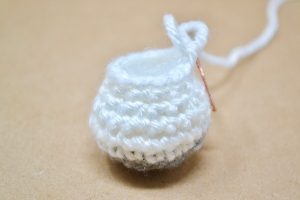
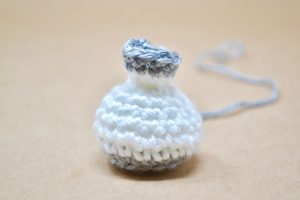
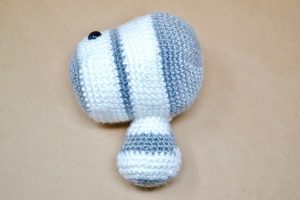
Body
Using color gray
R1: 6 sc into a magic circle {6 sts}Alternate way to begin: chain 2, sc 6 times in 2nd chain from hook {6 sts}
R2: (inc) 6 times {12 sts}
R3: (inc, sc in next st) 6 times {18 sts}
R4: (inc, sc in next 2 sts) 6 times {24 sts}
Change to color white
R5: (inc, sc in next 3 sts) 6 times {30 sts}
R6: (inc, sc in next 4 sts) 6 times {36 sts}
R7: (dec, sc in next 4 sts) 6 times {30 sts}
R8: sc in next 30 sts {30 sts}
Change to color gray
R9: sc in next 30 sts {30 sts}
R10: (dec, sc in next 3 sts) 6 times {24 sts}
R11-12: sc in next 24 sts {24 sts}
Change to color white
R13: (dec, sc in next 2 sts) 6 times {18 sts}
Begin to stuff the body and continue as you crochet.
R14-15: sc in next 18 sts {18 sts}
R16: (dec, sc in next 4 sts) 3 times {15 sts}
Fasten off and leave a long tail. Set aside until assembly.
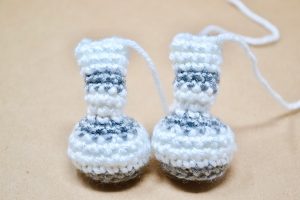
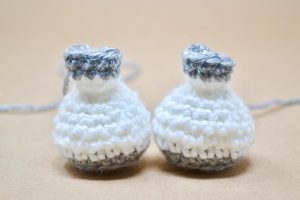
Front Legs
Make 2
Using color gray

R1: 6 sc into a magic circle {6 sts}Alternate way to begin: chain 2, sc 6 times in 2nd chain from hook {6 sts}
R2: (inc) 6 times {12 sts}
R3: (inc, sc in next st) 6 times {18 sts}

R4: sc in the back loop only in next 18 sts {18 sts}Go back to crocheting through both loops.
Change to color white
R5: sc in next 18 sts {18 sts}
R6: (inc, sc in next 2 sts) 6 times {24 sts}
R7: (dec, sc in next 2 sts) 6 times {18 sts}
Change to color gray
R8: (dec, sc in next st) 6 times (12 sts}
R9: sc in next 12 sts {12 sts}
Stuff the foot.
Change to Color white
R10: (dec) 6 times {6 sts}
R11: sc in next st, inc in next 3 sts, sc in next 2sts {9 sts}Single crochet in the first stitch, increase in each of the next 3 stitches, and then single crochet in the last 2 stitches.
R12: sc in next 9 sts {9 sts}
Change to color gray
R13-14: sc in next 9 sts {9 sts}
Change to color white
R15-17: sc in next 9 sts {9 sts}
Fasten off. Stuff the top part of the leg lightly.
Sew each leg shut and set aside until assembly.
Back Legs
Make 2
Using color gray
R1: 6 sc into a magic circle {6 sts}Alternate way to begin: chain 2, sc 6 times in 2nd chain from hook {6 sts}

R2: (inc) 6 times {12 sts}
R3: (inc, sc in next st) 6 times {18 sts}
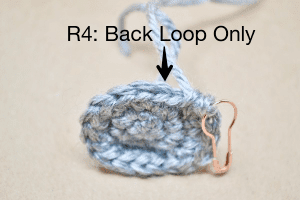
R4: sc in the back loop only in next 18 sts {18 sts}Go back to crocheting through both loops.
Change to color white
R5: sc in next 18 sts {18 sts}
R6: (inc, sc in next 2 sts) 6 times {24 sts}
R7: (dec, sc in next 2 sts) 6 times {18 sts}
R8: (dec, sc in next st) 6 times (12 sts}
R9: sc in next 12 sts {12 sts}
Stuff the foot. Continue crocheting.
R10: (dec) 6 times {6 sts}
R11: sc in next st, inc in next 3 sts, sc in next 2 sts {9 sts}
Change to color gray
R12-13 sc in next 9 sts {9 sts}
Fasten off. Do not stuff anymore.
Set aside until assembly.
Assembly
I recommend pinning the parts together before sewing the animal together.
Attach the body to the head at around R14-R20 of the head .

Attach the ears to the head, at a slight angle, between R11-R13 of the head.
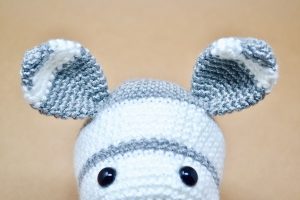
One on each side of the head.
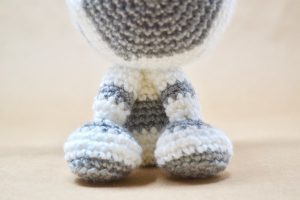
Attach the front legs to the body at the neckline, next to each other.When attaching, face the feet forward.

Attach the back feet to the body between R5-R9. One on each side.When attaching, the increases face upward.
Adding Hair:
Cut 4 inch strips of gray and white yarn.

Place your hook between R14-R15 of the head – in the middle of the head.
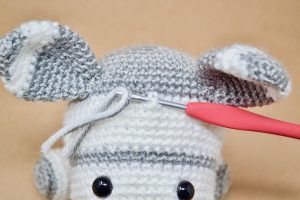
Place one gray and one white piece of yarn onto the hook.
Pull the yarn through the stitch stopping halfway. You’ll have a large loop on one side and loose yarn on the other.
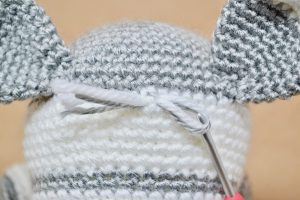
Insert the loose end of the yarn through the loop.
Tighten the yarn at the base of the head.
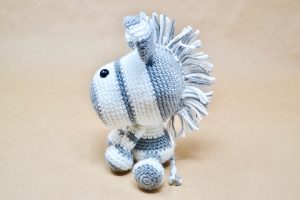
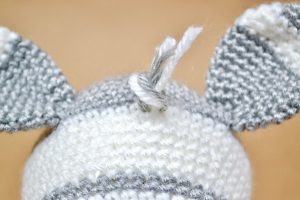
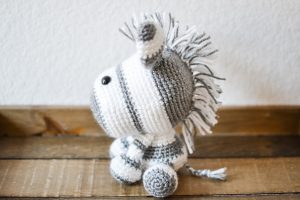
Keep adding sections of hair by moving down a stitch.Keep going until you reach the end of the head. Feel free to add hair at the back of the body for a tail.
When you have all the hair attached, trim if needed.
Weave in all the excess pieces of yarn into the body.
Please be aware that amigurumi contains small pieces and can be dangerous to children.

If you’re selling this stuffed ami, please place a warning and also state that safety eyes are not recommended for anyone under the age of 3.
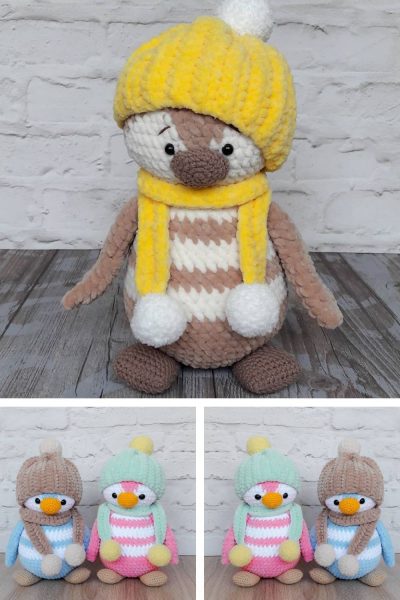
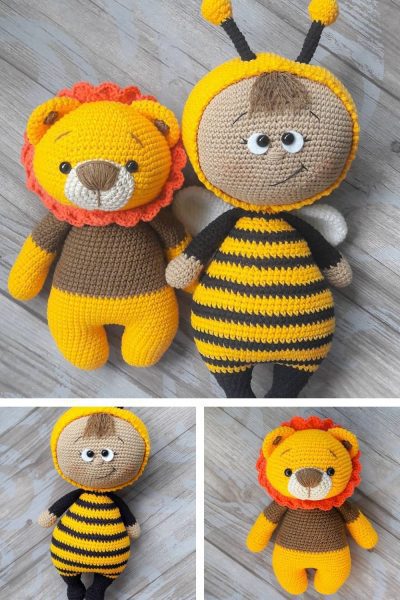
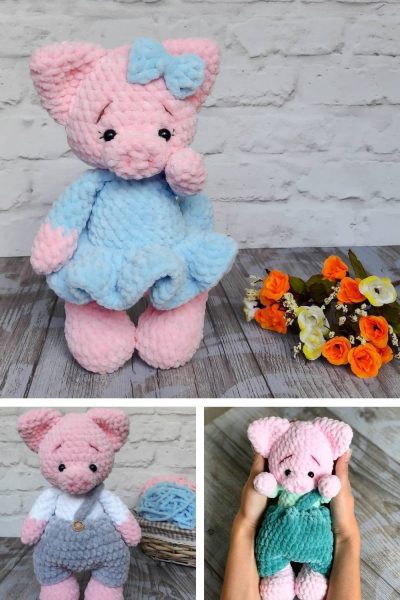
More Amigurumi Ideas;